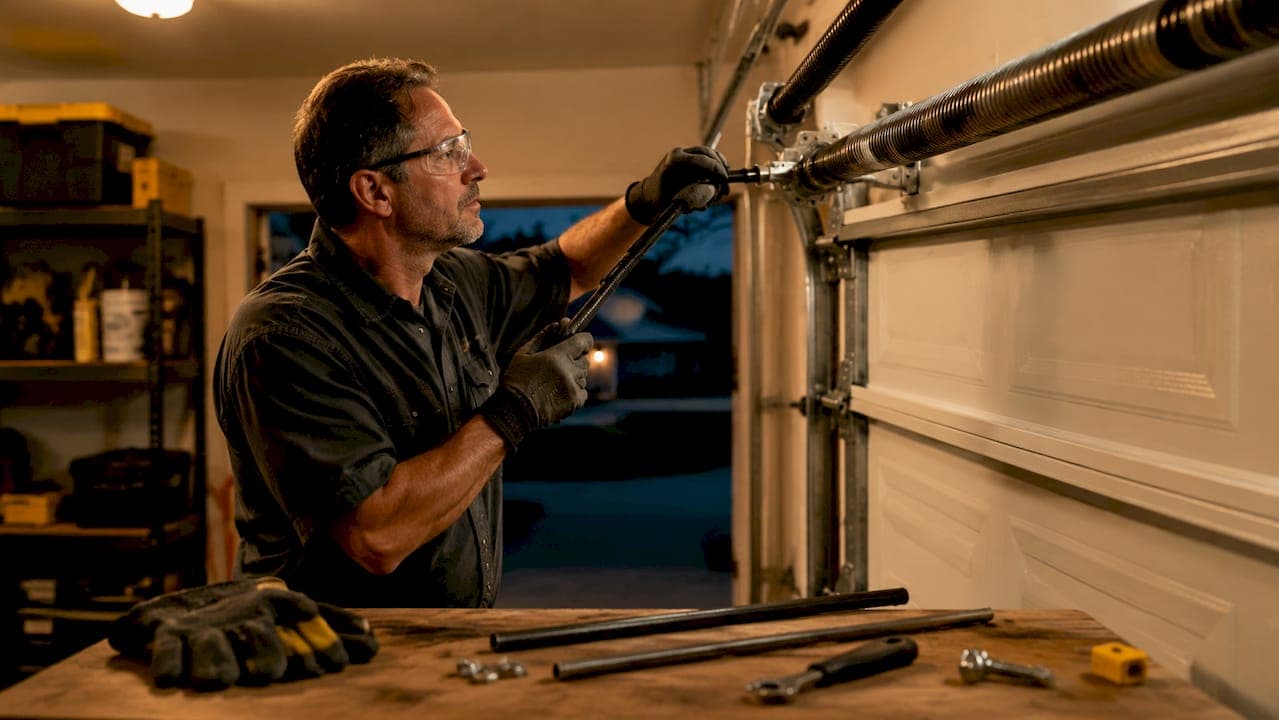
Garage door spring tension adjustment is the process of fine-tuning your springs so the door balances correctly, moves smoothly, and doesn't strain the opener motor. Both torsion springs (mounted horizontally above the door) and extension springs (running along the side tracks) rely on stored tension to counterbalance a door that can weigh 150–250 lbs. Get that tension wrong and you're looking at a door that slams shut, refuses to stay open, or burns out a $300 opener in just a few cycles. This guide walks you through the right tools, the right steps, and the warning signs that tell you when to stop and call a pro.
What tools and safety gear do you need first?
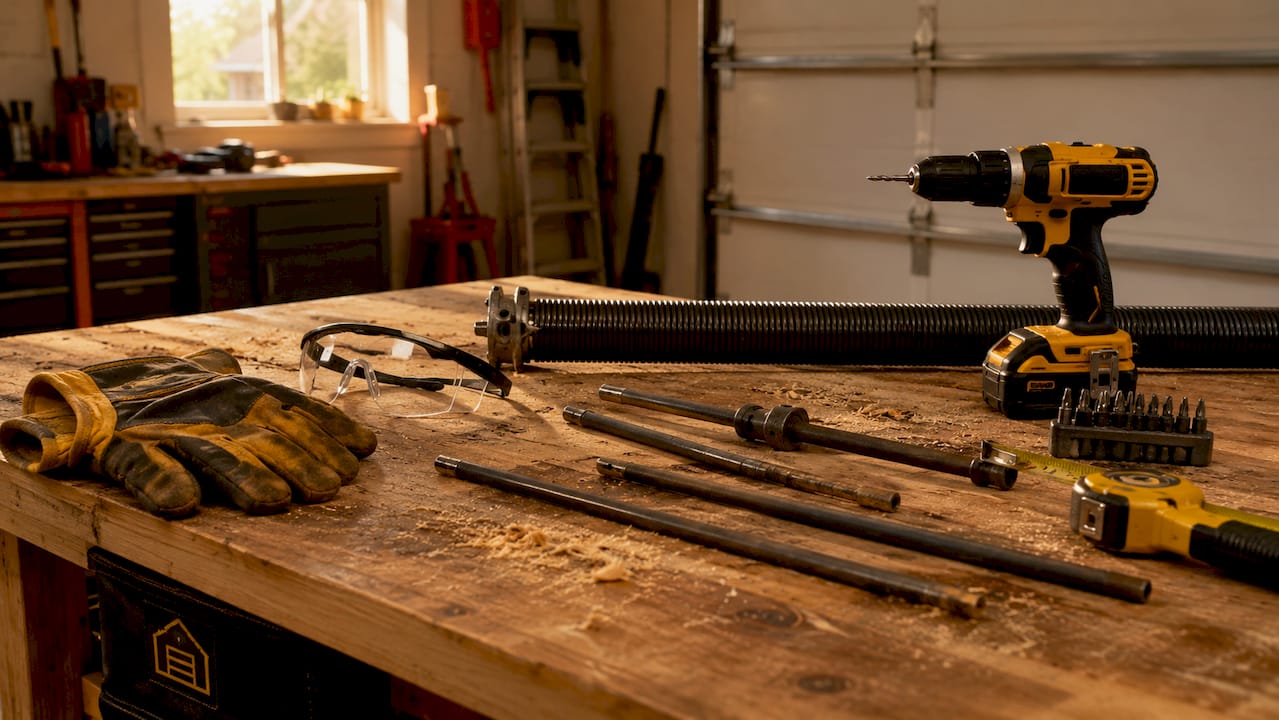
The right tools are not optional here. Improper tools are the leading cause of injury during spring adjustment, and that's not an exaggeration. A torsion spring holds enough stored energy to break your wrist or worse if it unwinds suddenly.
Here's what you need before you touch anything:
- Two solid steel winding bars: These are purpose-built for torsion spring cones. Never substitute a screwdriver, a wrench, or a piece of rebar. The fit must be exact so the bar doesn't slip under load.
- C-clamps or locking pliers: Clamp these to the vertical track just below the bottom roller. They stop the door from moving while you work.
- Safety glasses and heavy work gloves: Flying metal fragments and sudden spring movement are real risks. Protect your eyes and hands every time.
- A sturdy ladder: You'll be working at head height. A wobbly step stool is a liability.
- A winding bar set for TorqueMaster systems: Wayne Dalton's TorqueMaster and similar enclosed spring systems use proprietary tools that differ significantly from standard winding bars. Standard bars won't fit and can damage the tube housing.
Pro Tip: Before you buy winding bars, measure your spring cone's winding hole diameter. Most residential torsion springs use 1/2-inch holes, but some commercial systems use 9/16-inch. Using the wrong size is just as dangerous as using a screwdriver.
Keep your phone nearby too. If something goes wrong, you want to call for help fast.
How do you adjust torsion spring tension safely?
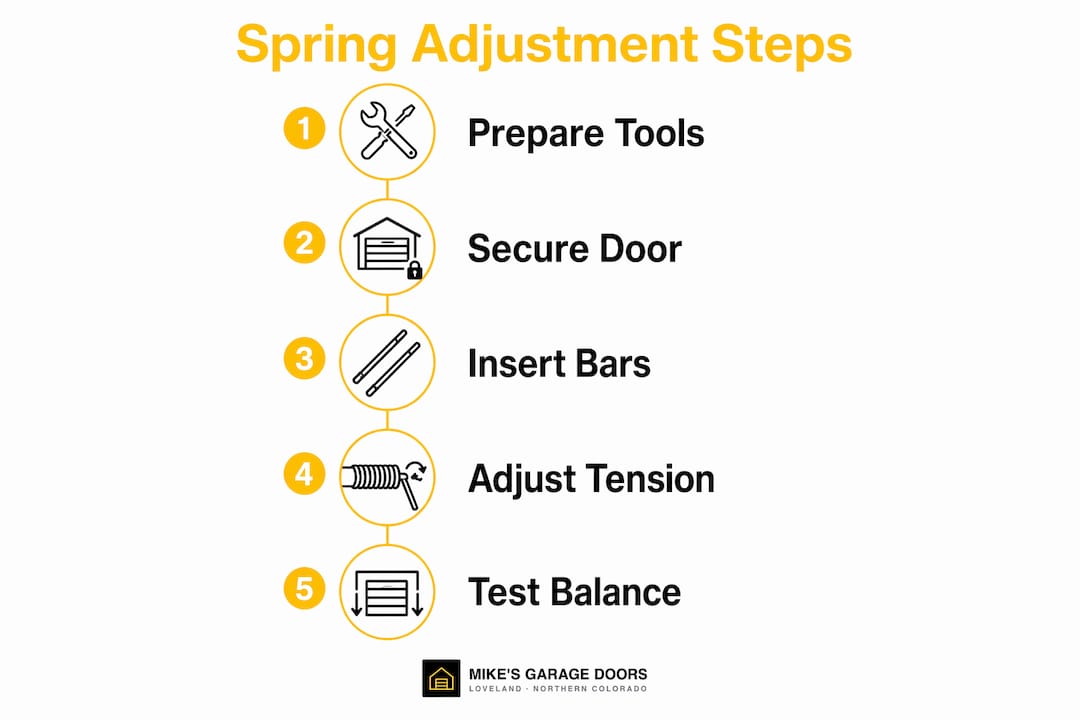
Torsion spring tension adjustment follows a specific sequence. Skipping steps or rushing the process is how people get hurt. Follow this in order.
-
Run the door balance test first. Disconnect the opener by pulling the red emergency release cord. Lift the door manually to about waist height and let go. A balanced door stays put. A door that drops needs more tension. A door that rises needs less.
-
Secure the door. Clamp your locking pliers or C-clamps to the vertical track just below the bottom roller bracket. The door must not move while you wind.
-
Locate the winding cone. On a torsion spring, the winding cone sits at one end of the spring, near the right side of the header bracket. You'll see two set screws on the cone. Loosen them before winding.
-
Insert the first winding bar. Push it fully into one of the four holes in the winding cone. Keep a firm grip. Never let go of a loaded bar.
-
Use the leapfrog method. The leapfrog method means you insert the second bar into the next hole before removing the first. One bar is always in the cone. This keeps the spring under control and prevents a sudden, violent unwind.
-
Wind in quarter-turn increments. Each quarter turn equals 90 degrees of rotation. A 7-foot door requires roughly 30–31 quarter turns of total spring tension. An 8-foot door needs about 34 quarter turns. If you're adding tension because the door drops, add 2–4 quarter turns, then test again.
-
Tighten the set screws. Once you've added the right number of turns, tighten the set screws firmly against the torsion bar. They should bite into the bar, not just sit on the surface.
-
Remove the clamps and test. Reconnect the opener and run the door three full cycles. Then disconnect again and repeat the balance test. The door should hold steady at mid-height.
Pro Tip: Wind the spring upward, away from you. If a bar slips, it flies downward and away from your face rather than toward it. This one habit has prevented a lot of injuries.
The math behind the turn count matters. A door that's too tight will rocket upward and slam the header. A door that's too loose will creep down and overload the opener motor on every cycle.
How do extension springs differ and how do you adjust them?
Extension springs run along the horizontal tracks on each side of the door. They stretch and contract rather than twist, which makes them a different adjustment process entirely. They're common on single-car garage doors and older residential setups.
Before you touch an extension spring, understand one critical safety point. Extension springs store tension by stretching. If a spring snaps without a safety cable threaded through it, it becomes a projectile. Always check that safety cables are in place before any adjustment.
Here's the adjustment process:
-
Open the door fully and secure it. Use locking pliers on the track or prop the door open with a sturdy 2x4 under each side. This releases tension from the springs so you can work safely.
-
Locate the S-hook or cable link. Extension springs connect to the door cable and the track bracket via an S-hook or a series of cable links. The tension level is set by which hole the S-hook sits in.
-
Move the S-hook to increase or decrease tension. Moving the hook to a higher hole on the track bracket increases tension. Moving it lower decreases tension. Make one hole adjustment at a time.
-
Close the door and test balance. Remove your props, close the door manually, and run the balance test again. Repeat until the door holds at mid-height without drifting.
Key risks specific to extension springs:
- Uneven tension: If one spring is adjusted differently than the other, the door will tilt and bind in the tracks.
- Worn S-hooks: A bent or worn S-hook can slip under load. Replace it if it looks deformed.
- Missing safety cables: Never operate a door with extension springs that lack safety cables threaded through the spring coils.
Extension springs are generally considered more forgiving than torsion springs for DIY adjustment, but they still carry real risk. Treat them with the same respect.
What are the warning signs of garage door spring failure?
Catching spring failure early is the difference between a $150 adjustment and a $400 repair bill plus a damaged opener. Recognizing early failure signs prevents dangerous snap failures, equipment damage, and personal injury.
Watch for these signs:
- Visible gaps in the spring coils. Failed torsion springs show coil separations ranging from 1/4 inch in early failure to 2–3 inches at a full break. If you see a gap, the spring is done.
- A loud bang from the garage. A breaking torsion spring sounds like a gunshot. If you hear that sound, do not operate the door.
- The door feels extremely heavy. A door with a broken spring becomes 150–250 lbs of dead weight. Your opener is not built to lift that load.
- Squeaking or grinding during operation. Spring failure is often gradual, with squeaking and difficulty lifting appearing before a sudden break.
- The door opens unevenly or sags on one side. This signals that one spring has lost tension or broken entirely.
Stop using the door immediately if you suspect a broken spring. Running your opener against a broken spring burns out the motor in 2–3 cycles, adding $200–$400 to your repair cost. The opener is not a substitute for a functioning spring.
You can check the warning signs of spring failure in detail before deciding whether to attempt an adjustment or call for help. When in doubt, call. A spring under full tension is not something to guess about.
Key takeaways
Correct garage door spring tension adjustment requires the right tools, a methodical process, and the judgment to recognize when a spring is beyond adjustment and needs replacement.
| Point | Details |
|---|---|
| Balance test first | Disconnect the opener and lift the door to mid-height to confirm whether tension needs increasing or decreasing. |
| Use proper winding bars | Never substitute screwdrivers or other tools; two steel winding bars and the leapfrog method are required for safe torsion spring work. |
| Adjust in quarter turns | Add 2–4 quarter turns at a time and retest; 7-ft doors need roughly 30–31 total turns, 8-ft doors need about 34. |
| Know the failure signs | Visible coil gaps, loud bangs, heavy door feel, and uneven movement all signal a spring that needs replacement, not adjustment. |
| Stop before the opener pays the price | Operating a door with a broken spring can burn out the opener motor in 2–3 cycles and add $200–$400 to your repair bill. |
What i've learned after years of watching springs go wrong
I've seen a lot of homeowners come to us after a spring adjustment went sideways. The story is almost always the same: they used a screwdriver instead of a winding bar, or they let go of the bar mid-wind, or they added too many turns and the door flew up and cracked the header.
Here's my honest take. Torsion spring adjustment is one of those tasks where the gap between "I watched a video" and "I know what I'm doing" is genuinely dangerous. The physics are unforgiving. A fully wound torsion spring stores enough energy to cause a serious injury in a fraction of a second. That's not fear-mongering. That's just the reality of working with coiled steel under load.
What I recommend to most homeowners is this: do the balance test yourself. It's safe, it's informative, and it tells you exactly what the spring needs. If the door is only slightly off and you're comfortable with tools, adding 2–4 quarter turns with proper winding bars is manageable. But if the spring has a visible gap, if the door is dramatically unbalanced, or if you're working with a TorqueMaster or commercial system, stop there. The cost of a professional adjustment is a fraction of what you'll pay if something goes wrong.
The 7-point tune-up checklist we put together covers spring inspection as part of a broader twice-yearly maintenance routine. Running that checklist regularly means you catch tension problems early, before they become emergencies.
Respect the spring. It's doing a lot of work every single day.
— Eddie
Need a hand with your springs? we're local and ready today
If your door is sagging, slamming, or just not feeling right, Mikes garage doors Loveland is ready to help. We handle spring repair and replacement for residential and commercial doors across Northern Colorado, and 90% of our repairs are completed the same day you call.

You get a straight, upfront estimate over the phone before we show up. No surprises on the bill. Veterans receive a 10% discount on all services. Whether you need a torsion spring wound, an extension spring replaced, or a full system inspection, our technicians bring the right tools and the experience to do it safely. Call Mikes garage doors Loveland or visit our homepage to book your same-day appointment.
FAQ
What is garage door spring tension adjustment?
Garage door spring tension adjustment is the process of adding or reducing the number of winds in a torsion spring, or repositioning the S-hook on an extension spring, to restore proper door balance. A correctly tensioned door holds steady at mid-height when disconnected from the opener.
How many turns does a torsion spring need?
A 7-foot garage door requires approximately 30–31 quarter turns of total spring tension, while an 8-foot door needs about 34 quarter turns. Always add turns in 2–4 quarter-turn increments and test balance after each adjustment.
Can i use a screwdriver instead of winding bars?
No. A screwdriver will slip out of the winding cone under load and release the spring's stored energy instantly. Two purpose-built steel winding bars are required for safe torsion spring adjustment.
How do i know if my spring is broken vs. just loose?
A broken torsion spring shows a visible gap in the coils, ranging from 1/4 inch to 2–3 inches. A loose spring shows no gap but causes the door to drop when released at mid-height. If you see a gap, the spring needs replacement, not adjustment.
When should i call a professional instead of adjusting it myself?
Call a professional if the spring has a visible break, if the door is dramatically unbalanced, if you're working with a TorqueMaster or enclosed spring system, or if you don't have proper winding bars. Operating a door with a broken spring can burn out the opener motor in just 2–3 cycles.
Recommended
- Garage Door Services in Loveland, CO — Spring, Opener, Commercial & Custom
- 5 Warning Signs Your Garage Door Spring Is About to Snap | Mike's Garage Door Repair Loveland
- Garage Door Off the Track? Don't Force It — Here's What to Do | Mike's Garage Door Repair Loveland
- Garage Door Repair Blog — Maintenance, Tips & Buying Guides | Loveland CO