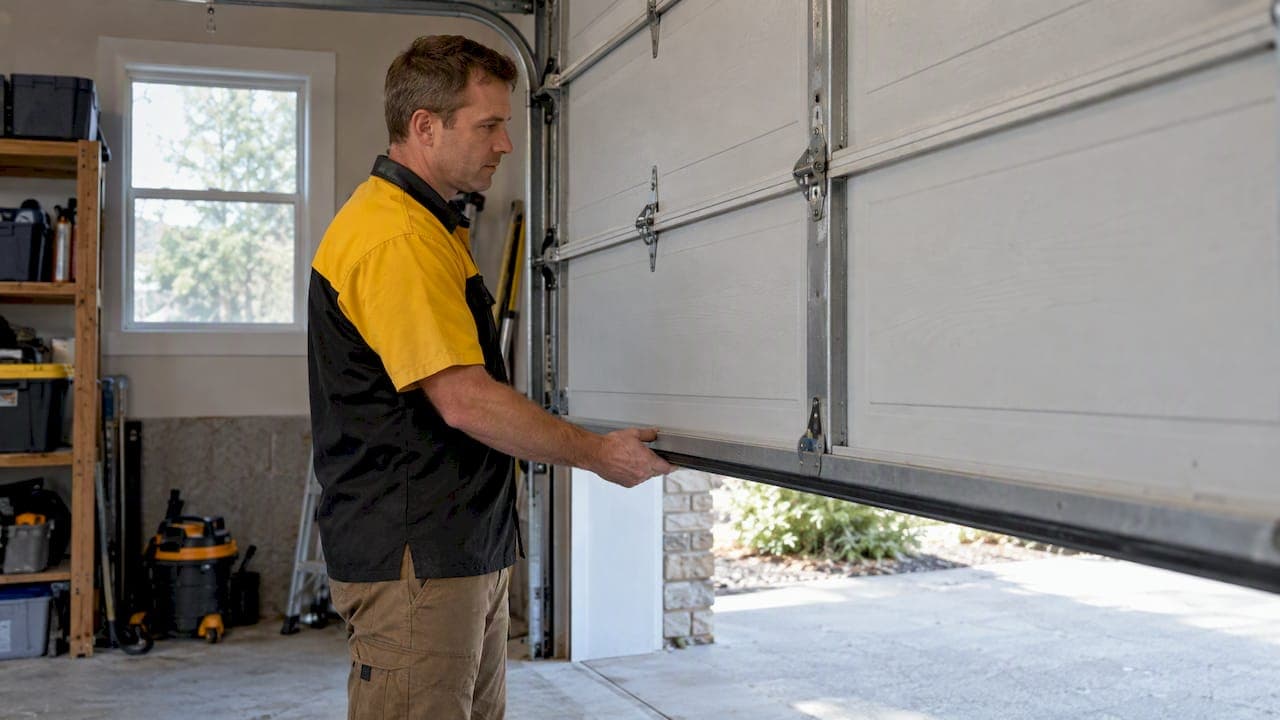
A properly balanced garage door stays exactly where you leave it at mid-height, no drifting, no dropping. If yours shoots up, slams down, or feels like dead weight the moment you let go, you're looking at a tension problem that can turn dangerous fast. Pair that manual check with the opener's reversal test, since balance and reversal protect against two different failures.
TL;DR:
- With the door closed, disengage the opener and lift it to waist height; repeat at other heights, since drifting upward or downward signals imbalance.
- Test the opener monthly with a flat 2x4, about 1.5 inches high; it should reverse within two seconds, or stop using it and arrange service.
- The balance check assesses springs and cables, while the reversal check tests opener sensors and auto reverse; passing one does not confirm the other works.
- If the door slams, feels heavy, moves unevenly, or has frayed cables, stop using the opener, clear the area, and never release an open door.
- Leave spring and cable repairs to a technician; before booking, ask about licensing and insurance, written parts and labor warranties, and an upfront estimate.
Table of Contents
- How to perform a quick manual garage door balance test
- Opener reversal safety test: how to run it and what the rules say
- Warning signs, common causes, and immediate safety actions
- When to call a professional and what to expect during the service visit
- Why professional service matters: client evidence and safety-first proof points
- Author perspective: make balance and reversal checks monthly
- How Mike's Garage Door Repair helps with balance and safety issues
- FAQ
- Sources
How to perform a quick manual garage door balance test
Before you touch anything, clear the area. Kids, pets, and parked bikes have no business under a door that might not hold. The emergency release cord disconnects the opener from the door so you can move it by hand, but save that cord for real emergencies and handle it with care, especially once the door is partway up.
Here's the full check:
- Close the garage door completely and disengage the opener using the emergency release.
- Lift the door by hand to about mid-point, approximately waist to chest height, as shown in our guide to testing an unbalanced door.
- Let go of the door and watch what it does.
- Repeat the test at a couple of other heights to rule out a spot-specific issue.
- Reconnect the opener once you're done.
A balanced door holds its position. If it creeps upward on its own, the springs are wound too tight. If it drifts down slowly, tension is a little weak. If it drops fast or slams, you're dealing with too little tension or a spring or cable that's already failed, which is a serious hazard. Jerky, uneven, or inconsistent movement usually points to a hardware problem like a bent track or worn roller rather than the springs themselves.
Once the opener is back on, run the door through a normal open and close cycle. If it feels unusually heavy, hesitates, or behaves differently than it did a month ago, stop there and skip ahead to when you should call a professional instead of troubleshooting further.
Pro Tip: Write down the date and what the door did each time you test it. A pattern of slow drift over a few months tells a technician a lot more than a single snapshot.
Opener reversal safety test: how to run it and what the rules say
The balance test checks the springs and cables. The reversal test checks a completely different system: the opener's sensors and auto-reverse mechanism, which exist specifically to stop the door from closing on a person, pet, or object.
To run it:
- Place a low object roughly 1.5 inches high, such as a 2x4 laid flat, in the door's path.
- Close the door using the opener and watch what happens on contact.
- Confirm the door reverses within about 2 seconds of touching the object.
- If it doesn't reverse, unplug the opener or disengage it immediately and schedule service before using it again.
This isn't a nice-to-have. The Consumer Product Safety Commission recommends this exact test monthly, using a 1.5-inch object or a 2x4 laid flat, and treats a failed reversal as reason to take the opener out of service until it's repaired. Federal installation rules under 16 CFR § 1211.16 similarly require manuals to spell out proper counter-balance and reversal behavior, because an opener that doesn't reverse on contact can cause severe injury.
A door can pass the manual balance test and still fail the reversal test, or the reverse. They're separate systems, so neither check substitutes for the other. Our walkthrough of the UL 325 two-second reversal standard covers how technicians verify and adjust opener timing if yours doesn't pass.

Warning signs, common causes, and immediate safety actions
A few behaviors tell you something is wrong before a full test even starts:
- The door slams shut or shoots up on its own.
- It won't hold at mid-height during a manual check.
- Movement looks uneven or jerky instead of smooth.
- The opener strains, grinds, or makes new noise.
- Cables look frayed, kinked, or visibly worn.
- The door sits crooked in its tracks.
Most of these trace back to the torsion or extension springs that counterbalance the door's weight, the cables that guide that force, or worn rollers and drums that throw off alignment. A door can weigh several hundred pounds in total, and the springs are what make that weight manageable by hand, which is also why a failed spring turns a 3 or 4 foot lift into something closer to dead weight.
If you spot any of these signs, stop using the opener, keep the area clear, and photograph the damage for whoever inspects it later. Never use the emergency release while the door is open unless a technician tells you to, since a weak or broken spring can let the door fall the moment it's disconnected. If you notice a frayed cable specifically, our guide on what to do next walks through the right sequence: stop, photograph, call.
Pro Tip: Never attempt to adjust, wind, or replace a spring yourself. Torsion springs store enough energy to cause serious injury, and the tools and technique involved aren't something to improvise.
When to call a professional and what to expect during the service visit
A few outcomes should send you straight to the phone instead of back to the toolbox:
- The door slams, drops fast, or fails to hold at mid-height during the balance test.
- The opener fails the reversal test on contact with the test object.
- You see frayed, kinked, or snapped cables.
- The door suddenly feels much heavier or behaves differently than it did last month.
- A spring looks visibly broken, gapped, or stretched out of shape.
A technician will typically inspect the springs, cables, drums, and track alignment, then check opener force settings and reversal timing. Spring replacement, cable replacement, drum adjustment, and opener recalibration are the most common fixes, and many local pros can complete these repairs the same day.
When you call, ask about licensing and insurance, what warranty covers the parts and labor, whether they give an upfront estimate before starting work, and how they handle federal reversal-test compliance. Getting a clear number over the phone before anyone shows up saves you from surprise charges later.
Why professional service matters: client evidence and safety-first proof points
Before a technician ever arrives, we give estimates over the phone, so you know the cost before committing. Technicians handle springs, cables, and openers regularly, and repairs are typically backed by a written warranty.
Spring and cable work carries real risk from stored energy, which is exactly why documented, warrantied repairs matter more than a quick fix. A technician who stands behind the work gives you something a DIY attempt never can: accountability if something goes wrong later.
Author perspective: make balance and reversal checks monthly
We'd rather you catch a slow spring drift in month two than a snapped cable in month six. Run the manual balance test and the opener reversal test together, once a month, and treat any inconsistency as a reason to document it with a photo and call it in rather than reach for a wrench yourself.
— Eddie
How Mike's Garage Door Repair helps with balance and safety issues
If your door failed either test, service providers can handle the full range of what comes next, including tune-ups, spring repair and replacement, opener repair and reversal adjustment, and emergency response for doors that fail suddenly.

If a DIY door replacement project sounds tempting instead, it's worth knowing why those projects often run into trouble before you start. For a garage door, skip the guesswork and schedule a visit through our services page.
FAQ
How do I tell what's wrong with my garage door?
Start with the manual balance test at mid-height and the opener reversal test with a 2x4 laid flat in the door's path. A door that drifts or drops points to spring or cable trouble, while a failed reversal test points to the opener's sensors, and either result tells a technician where to start looking.
How do I find out how much my garage door weighs?
Most residential garage doors weigh several hundred pounds total, with the exact figure depending on material and size, and that weight is what torsion or extension springs are built to offset. A manufacturer's spec sheet or a technician's inspection will give you the precise weight for your specific door.
Why is my garage door opener not reversing direction?
A failed reversal usually means the sensors are misaligned, the force settings need adjusting, or the opener itself has a mechanical fault. Disengage the opener immediately if it fails this test and have a technician inspect it before using the door again.
Is a garage door spring under tension when the door is up or down?
Torsion springs are wound tightest when the door is closed, since that's when they're doing the most work holding the door's weight. This is also why spring and cable repairs should only be done by trained technicians using proper winding bars and technique.
Sources
- CPSC: Safety Commission proposes rules for automatic garage door openers
- 16 CFR § 1211.16 - Instruction manual