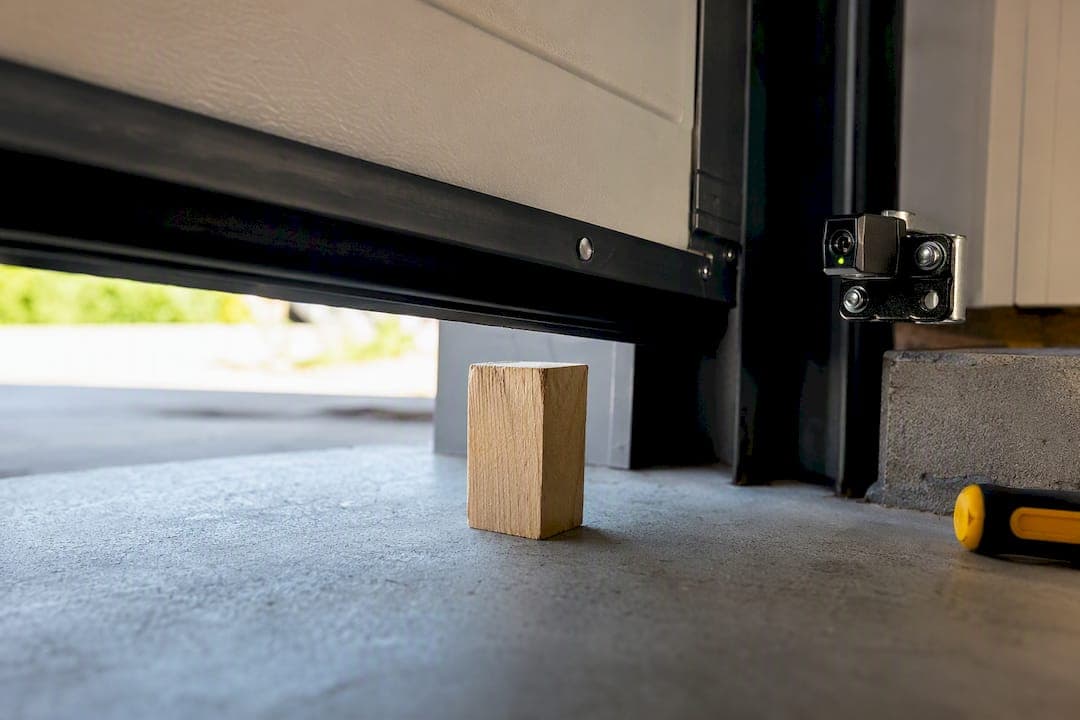
Most garage doors reverse because the safety sensors (photo-eyes) are misaligned or blocked, or because the opener's force and travel settings are tripping early. Mechanical binding in the tracks or rollers is the third most common cause. Check the sensor LEDs, clear any debris from the beam, and try the wall button before you touch a single setting. If a 2x4 test fails or springs and cables are involved, stop and call a professional.
TL;DR:
- Proper sensor LED function and alignment are crucial, as even a half-inch misalignment can cause false reversals, requiring cleaning and minor adjustments.
- The 2x4 test must be passed within two seconds to ensure force settings are safe and compliant with UL 325 standards, preventing hazards.
- Mechanical issues like bent tracks, worn rollers, or spring problems often cause consistent reversal points, and only a professional should handle spring or cable repairs.
- Sensor faults increase at sunset due to sunlight saturation, but consistent misalignment and dirt buildup are the primary causes of sensor-induced reversals.
- Most repairs, including sensor realignment, force calibration, or spring replacement, can be completed the same day with an upfront estimate from a licensed technician.
Table of Contents
- Quick Garage Door Reverses Troubleshooting Checklist
- Check and Fix the Safety Sensors (Photo-Eyes)
- Test and Interpret Opener Force and Travel Settings
- Inspect Mechanical Causes: Tracks, Rollers, Springs, and Cables
- Run the Official Safety Verification Tests
- When to Call a Professional and What to Tell Them
- What Years of Service Calls Teach You About Reversing Doors
- How Mike's Garage Door Repair Helps With Reversing Doors
- Sources
- FAQ
Quick Garage Door Reverses Troubleshooting Checklist
Run this before you adjust anything on the opener itself.
- Watch a full close cycle. Note exactly where the door reverses and whether it happens every time or only sometimes.
- Check the photo-eye LEDs. Both should glow steady. Clean dirty lenses with a soft cloth.
- Compare wall switch vs. remote. If one works and the other doesn't, the issue is likely the remote or its logic board, not the safety system.
- Wave a broom handle through the sensor beam while the door closes. It should reverse instantly.
- Try lifting the door by hand with the opener disconnected. If it's heavy or fights you, stop, and skip straight to calling a pro.
This order matters. Chamberlain's own troubleshooting guidance recommends working through sensors and settings one at a time rather than changing several things at once, since stacking adjustments makes it nearly impossible to tell what actually fixed the problem.
Check and Fix the Safety Sensors (Photo-Eyes)
Your garage door has two small sensors mounted a few inches off the floor on each track. One emits a modulated infrared beam, the other receives it. That modulation, pulsing at roughly 38 kHz, is what lets the receiver tell your opener's beam apart from sunlight or a flashlight, according to a breakdown of how these sensors work. Break that beam, and the door reverses on purpose. That's the safety system activating as designed.
Here's how to read the LEDs:
- Emitter LED steady means it's powered and sending.
- Receiver LED steady means it's getting a clean signal.
- Blinking, dim, or dark on either side points to misalignment, dirt, or a wiring problem.
Misalignment is the number one cause of false reversals, and it doesn't take much. A Trunetto troubleshooting review notes that even a half-inch vertical shift between the two eyes can break the beam. Wipe both lenses with a microfiber cloth, then loosen the mounting bracket screws just enough to nudge each sensor until its LED goes rock steady, and retighten. Test by walking through the beam during a close cycle.
Pro Tip: If your sensors act up only at sunset, low western sun can saturate the receiver and mimic a sensor fault. Shading them with a small hood helps in the moment, but it's a band-aid. If alignment and cleaning don't fully solve it, the sensor itself may be aging out.
Test and Interpret Opener Force and Travel Settings
Travel limits tell the opener where "fully closed" is. Force settings tell it how much resistance is normal before something is wrong. When either one is off, your garage door reverses even with nothing in its path.
Run the 2x4 test to check this directly:
- Lay a piece of 2x4 lumber flat on the floor, centered under the door.
- Close the door normally.
- When it touches the board, it should reverse within about 2 seconds.
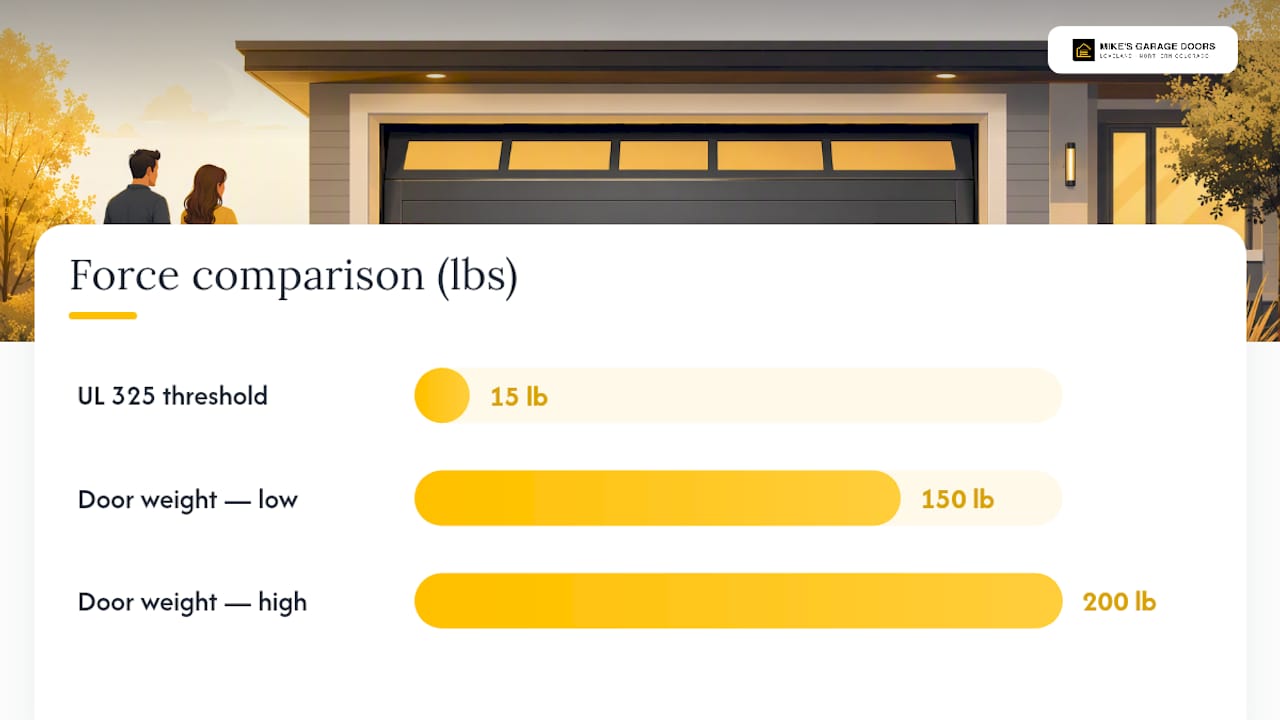
That 2 second window isn't arbitrary. UL 325 requires residential openers to reverse within 2 seconds of encountering 15 pounds of resistance, a threshold built from real biomechanical testing on what a body can safely withstand. If your door pushes through the 2x4 or takes noticeably longer to reverse, the force setting may be set too high.
Cranking up the force to stop a door from reversing might seem like the fix, but it defeats that 15 pound protection and turns a 150 to 200 pound door into a genuine hazard for anyone or anything underneath it. If the door only travels a short distance before reversing, the cause might not be force at all. It could be excess play in the opener's motor shaft, sometimes called endplay, which can throw off the RPM sensor the opener uses to judge the door's position. That's a job for a technician, not a screwdriver. Our guide to resetting limit switches walks through the safe adjustment range if you want to try travel calibration yourself.
Inspect Mechanical Causes: Tracks, Rollers, Springs, and Cables
If your door reverses at the exact same spot every single time, that's a strong sign the problem is mechanical, not electronic. A sensor issue tends to be inconsistent. A bent track or worn roller catches in the same place cycle after cycle.
Disconnect the opener using the manual release cord and lift the door by hand. A properly balanced door should feel light, almost weightless, and stay put wherever you leave it. If it's heavy, drops on its own, or grinds as it moves, something mechanical is fighting the opener.
- Look for visibly bent or misaligned tracks.
- Listen for grinding or squealing, which usually means worn rollers.
- Check for sagging panels, a sign of a bent section or a spring problem.
- Clear leaves, toys, or dirt from the tracks, and lubricate rollers with a silicone spray, never oil, which attracts grime.
- Tighten any loose bolts or brackets you find along the track.
One firm line: never touch the torsion springs or lift cables yourself. They hold enormous stored tension, and a detailed look at DIY door repair pitfalls makes clear why professionals treat spring work as a specialty, not a weekend project. If you spot a bent track that's pulling the door off its rails, our off-track door guide explains what's safe to check before you call anyone.
Run the Official Safety Verification Tests
Two tests tell you almost everything about whether your auto-reverse system is actually protecting your household, and a third tells you whether the door itself is safe to operate at all.
- Photo-eye broom test. Interrupt the beam with a broom handle mid-close. The door should reverse almost instantly, typically within 150 to 250 milliseconds of the beam breaking.
- 2x4 force test. Lay a 2x4 flat under the door and close it. The door must reverse within 2 seconds of contact. Anything slower or a door that pushes through means the force setting needs correction.
- Manual balance check. Disconnect the opener and lift by hand. It should feel counterbalanced, moving smoothly with light effort in either direction.
Passing the photo-eye test does not mean your springs are safe. These are separate systems. A door can have flawless sensors and still have a spring on the verge of failing. Treat each test as answering its own narrow question, not as a clean bill of health for the whole door.
When to Call a Professional and What to Tell Them
Certain findings mean it's time to stop troubleshooting and pick up the phone:
- The door fails the 2x4 test, reversing too slowly or not at all.
- You see a frayed cable or a visibly stretched or broken spring.
- The door feels heavy, unbalanced, or drops suddenly during the manual lift test.
- The opener shows short travel that points to motor shaft endplay rather than a simple limit setting.
Before your appointment, jot down what the sensor LEDs were doing, whether the reversal happens every time or only sometimes, exactly where the door stops, and whether the wall switch behaves differently than the remote. Ask the technician to calibrate force to the UL 325 standard, check sensor wiring, and inspect the tracks for straightness. A same-day visit typically covers a full inspection, the same safety tests you just ran, and an upfront estimate before any repair begins.
What Years of Service Calls Teach You About Reversing Doors
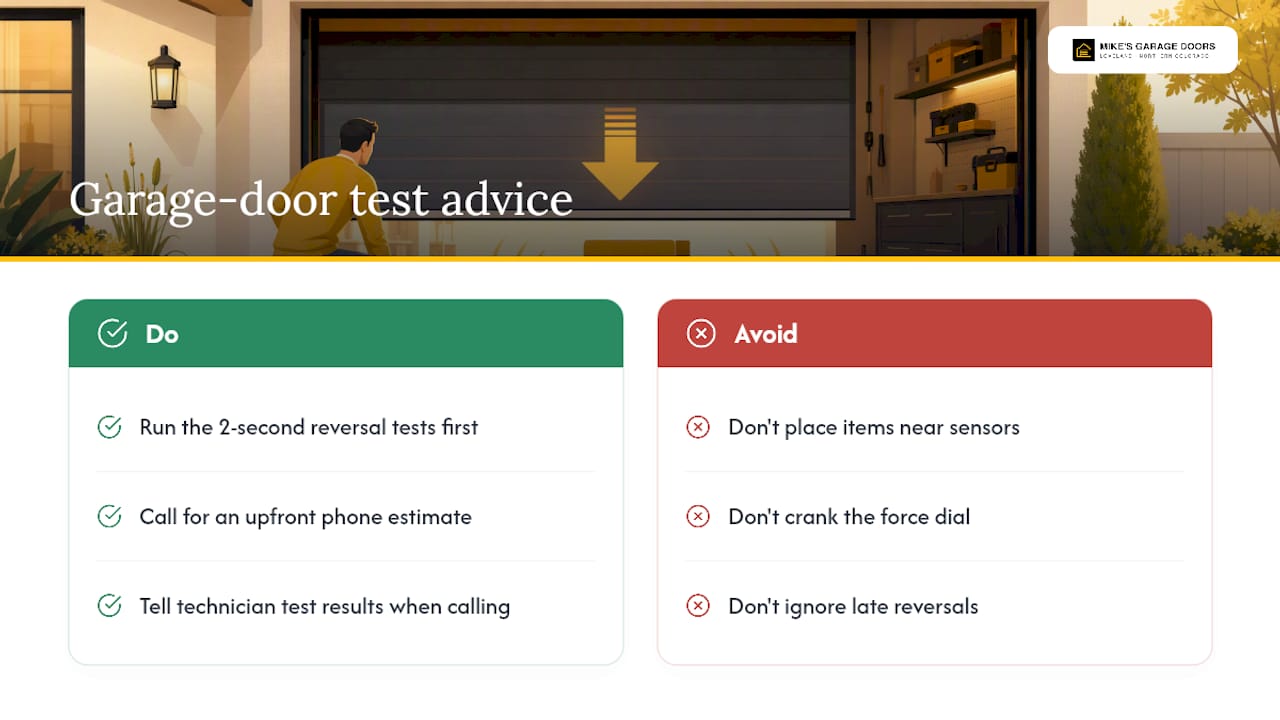
The most common pattern is almost embarrassingly simple: someone moves a bike, a trash can, or a stack of holiday bins near the garage wall, nudges a sensor bracket by a fraction of an inch, and doesn't notice until the door starts reversing weeks later. The second most common mistake is homeowners cranking up the force dial to push through a sticky door instead of fixing the friction causing it.
At Mikes garage doors Loveland colorado, 90% of repairs get resolved the same day, with an upfront phone estimate before a technician ever knocks on the door. Veterans get 10% off, and every repair comes backed by a warranty. Run the tests above first. They'll tell you exactly what to say when you call.
— Eddie
How Mike's Garage Door Repair Helps With Reversing Doors
If your door still reverses after the sensor, force, and mechanical checks above, that points to a repair job, not another setting to tweak. Mikes garage doors Loveland colorado handles exactly this kind of diagnosis daily across Loveland and Northern Colorado, from sensor realignment and opener force calibration to spring and cable replacement when a door's mechanical system is the real culprit.

Every visit starts with a phone estimate, so you know the cost range before a technician shows up, followed by a full inspection, the same safety tests covered in this guide, and any needed parts or repairs, backed by a warranty. Veterans receive 10% off. If your door failed the 2x4 test or you found a frayed cable during inspection, don't wait on it. Book a garage door service in Loveland and get a same-day fix from someone who does this for a living.
Sources
- Garage Door Only Travels a Little Way and Then Reverses — Chamberlain support
- How garage door safety sensors actually work — Garage Door Science
- Why Does My Chamberlain Garage Door Reverse Before Closing? — Trunetto troubleshooting
FAQ
Why Is My Garage Door Reversing on Its Own?
It's almost always a misaligned or dirty photo-eye sensor, an opener force setting that's too sensitive, or mechanical resistance from a track, roller, or spring issue. Run the broom test and 2x4 test to narrow it down.
What Does It Mean if a Garage Door Opener Is Reversible?
Reversible, or auto-reverse, means the opener is designed to stop and reverse direction the instant it senses an obstruction or a broken safety beam. This is required by UL 325 on every residential opener sold today.
Why Does My Garage Door Reverse When It Hits the Ground?
This usually means the down-force limit or travel setting is off, telling the opener the door met resistance before it's actually closed. It can also signal a track obstruction right at floor level, like a bent rail or built-up debris.
Why Does My LiftMaster Garage Door Keep Reversing?
The cause is the same across brands: check sensor alignment and LED status first, then verify force and travel settings with the 2x4 test. If the door only travels a short distance before reversing, motor shaft endplay inside the opener head is a common LiftMaster specific culprit worth having a technician check.