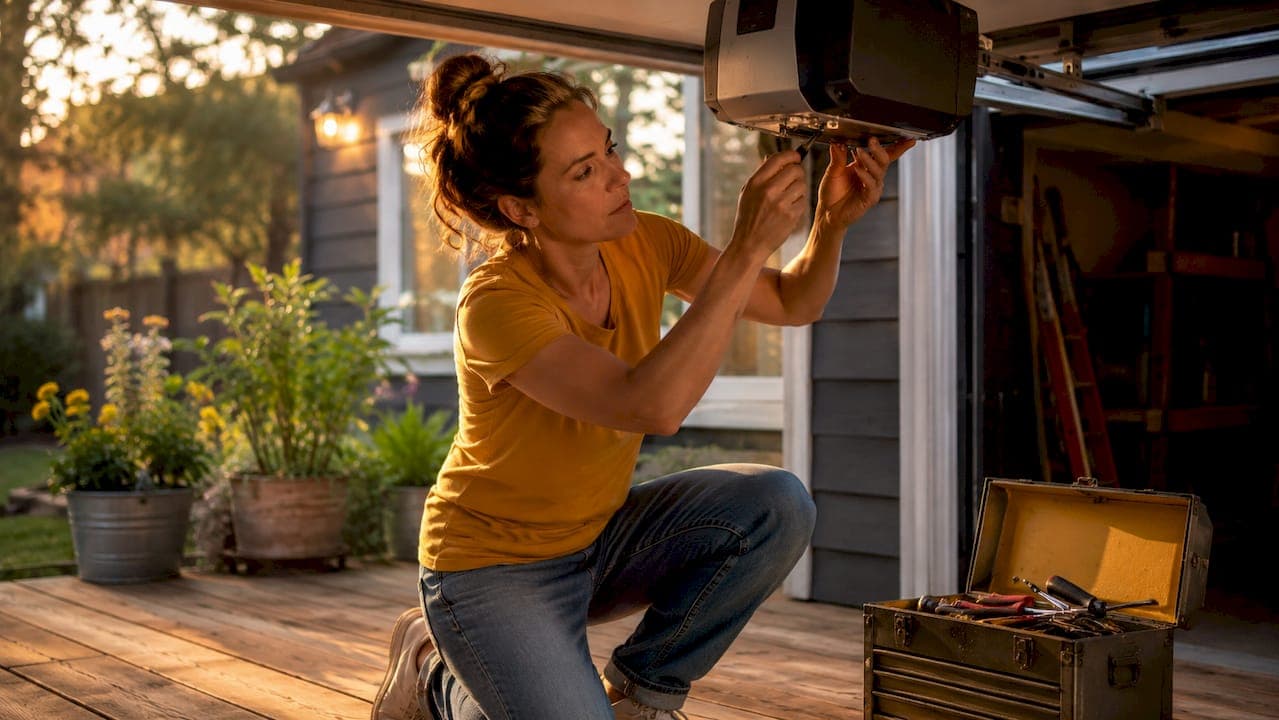
A garage door limit switch is the small sensor or adjustment mechanism that tells your opener exactly where to stop when the door opens or closes. When it's off, your door slams into the floor, reverses for no reason, or stops a foot short of fully open. Knowing how to reset garage door limit switch settings yourself saves you a service call and gets your door working right in under an hour. You'll need a flathead screwdriver, a ladder, and about 20 minutes. The fix works on both older manual screw systems and modern digital openers like Genie or Chamberlain.
What tools and safety steps do you need first?
Getting prepared takes five minutes and prevents most mistakes. Gather these items before you touch anything on the opener.
Tools you need:
- Flathead and Phillips screwdrivers
- A sturdy ladder tall enough to reach the motor housing
- A 2x4 block for safety testing after adjustment
- Your opener's owner manual (check the manufacturer's website if you've lost it)
Safety comes first. Unplug the opener from the ceiling outlet before you start. Clear any objects from the door's path. Never stand under the door while it moves during testing.
Pro Tip: Power cycling your opener by unplugging it for 30–60 seconds resolves roughly 33% of erratic opener behavior before you ever touch a limit screw. Try this first. You may not need to adjust anything at all.
You also need to identify your opener type before starting. Openers made before roughly 2010 use physical screws on the motor housing labeled "UP/DOWN" or "OPEN/CLOSE." Newer models from brands like Genie, Chamberlain, and LiftMaster use digital buttons labeled "Set," "Learn," or arrow keys. The reset procedure is completely different for each type, so confirm yours before moving forward.
How do you reset mechanical garage door limit switches step by step?
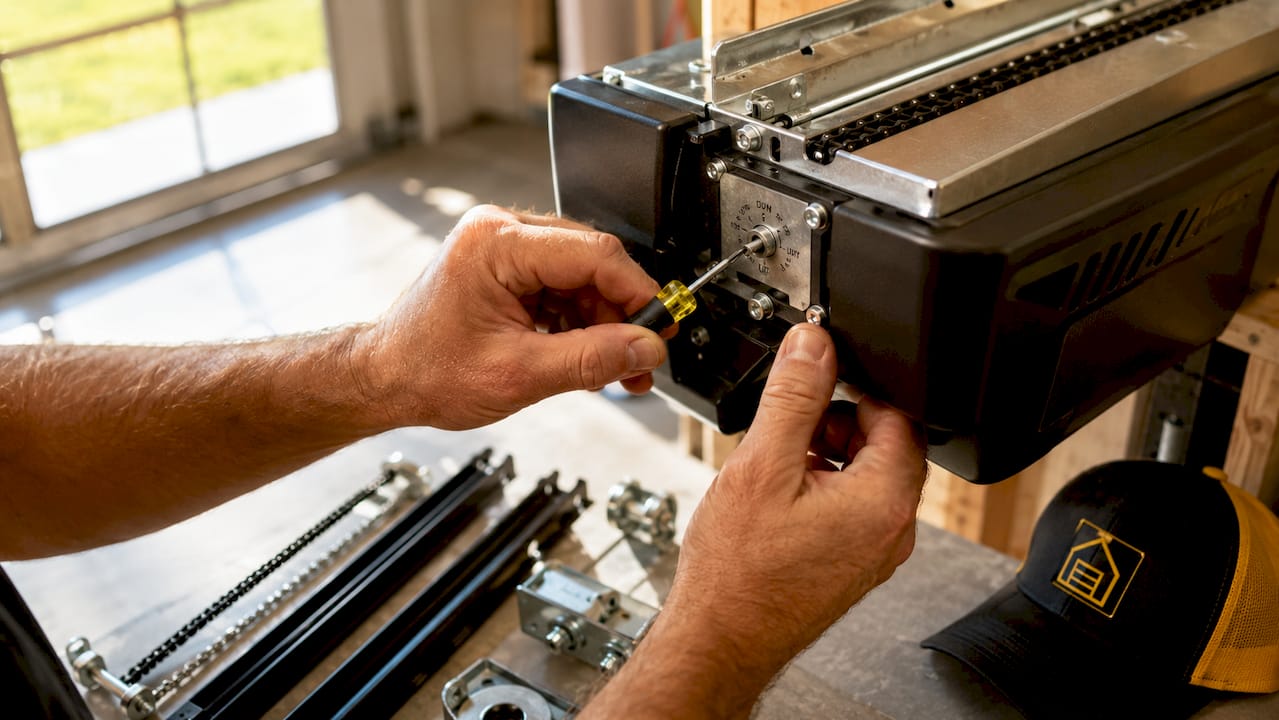
Mechanical limit switches use small adjustment screws mounted directly on the motor housing. This system is common on openers installed before 2010. The process is straightforward, but patience matters here. Small turns make a real difference.
Step 1: Locate the limit adjustment screws. Look on the side or back of the motor unit. You'll see two screws labeled "UP" and "DOWN" or "OPEN" and "CLOSE." Some units use a single dial with two separate zones.
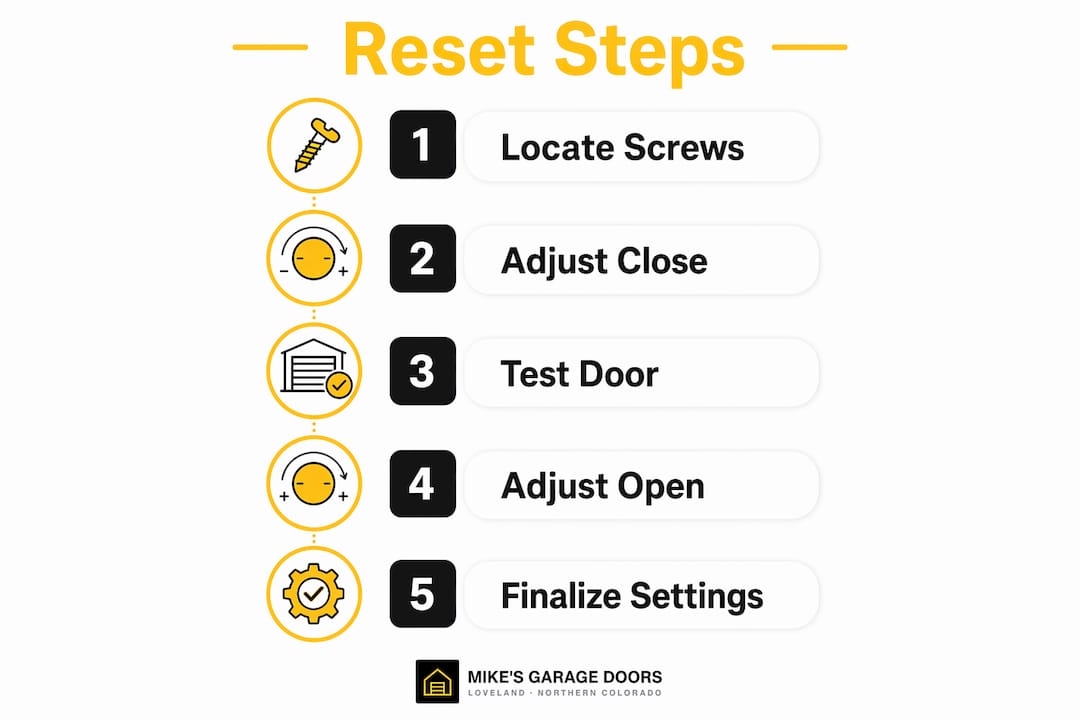
Step 2: Adjust the close (down) limit first. If the door hits the floor and reverses, turn the DOWN screw clockwise in small increments. If the door stops too high and leaves a gap, turn it counterclockwise. One full turn moves the door approximately 1.5–2 inches. That's a significant shift, so work in quarter turns.
Step 3: Test after each adjustment. Plug the opener back in, run the door through a full cycle, and watch where it stops. Unplug again before making your next adjustment. This back-and-forth is the right way to do it.
Step 4: Adjust the open (up) limit. Once the close limit is correct, move to the UP screw. If the door doesn't open all the way, turn counterclockwise. If it strains at the top or pulls on the torsion spring, turn clockwise to reduce travel.
Step 5: Run three full cycles. After both limits feel right, run the door open and closed three times in a row. Watch for smooth, consistent stops at both ends.
Common mistakes to avoid:
- Turning screws more than a quarter turn at a time
- Adjusting both screws simultaneously
- Skipping the safety reversal test after finishing
Pro Tip: Quarter turn increments on manual limit screws correspond to roughly 0.5 inches of door travel. This keeps you from over-adjusting and triggering false safety reversals or motor strain.
How to reset digital garage door limit switches with programming buttons
Digital openers handle limit calibration through a built-in programming mode. The process feels different from turning screws, but it's actually more forgiving because you can see the door position in real time before you save any settings.
Before you start, confirm you have a digital unit. Look for buttons labeled "Set," "Learn," "Up," "Down," or small arrow keys on the motor housing or wall panel. If you see only two small screws and no buttons, you have a mechanical unit.
Step 1: Enter programming mode. Press and hold the "Set" or "Learn" button until the LED on the motor housing flashes. On most Chamberlain and LiftMaster units, this takes about 3 seconds. The flashing light confirms you're in setup mode.
Step 2: Position the door for the close limit. Use the arrow keys to move the door down to the exact position where it should stop on the floor. The door should sit flush with the ground with no gap and no pressure pushing down.
Step 3: Save the close limit. Press and hold the "Set" button again until the LED flashes twice. That confirms the close position is saved.
Step 4: Set the open limit. Use the arrow keys to move the door up to the fully open position. The door should sit parallel to the ceiling with no strain on the opener arm.
Step 5: Save the open limit. Press and hold "Set" again until the LED flashes twice. On Genie digital models, holding the Set button for 10 seconds clears old limits and confirms new ones. Check your specific model's manual for exact timing.
Step 6: Run a full automatic cycle. Many digital openers run a self-learning cycle after you save limits. The door will travel up and down once on its own to calibrate motor force. Let it complete without interruption.
Critical safety rule: Safety regulations require direct line-of-sight to the door during the entire calibration process. Never program limits via a remote or app from another room. You must see the door move at all times.
Troubleshooting common issues after resetting garage door limits
Even after a careful adjustment, problems can persist. Most of them point to one of three causes: limits still slightly off, force settings mismatched, or a mechanical problem that limit switches cannot fix.
Symptoms and what they mean:
- Door reverses before hitting the floor: The down limit is set too short, or force sensitivity is too low. Increase the down limit slightly and check force settings.
- Motor strains at the top: The up limit is set too high. The opener is pulling past the door's natural stopping point. Reduce the up limit by a quarter turn or one button press.
- Door stops short of fully open: The up limit needs more travel. Increase it in small steps.
- Door reverses immediately after closing: The down force setting may be too sensitive. Adjust force, not just the limit.
Run the safety reversal test every time. Place a 2x4 block flat on the ground in the door's path. Close the door. It must reverse the moment it contacts the block. If it doesn't, your down limit is too aggressive or your force setting is wrong. Fix this before using the door normally.
When to stop and call a pro: If the door still behaves erratically after two rounds of adjustments, the problem may not be the limit switch at all. Travel limits cannot fix broken springs or a door that's out of balance. Mechanical failures like a worn torsion spring require professional repair. Attempting to compensate with limit settings risks premature motor failure and creates real safety hazards.
Many doors that reverse early are actually responding to force sensitivity settings, not a failed limit switch. Adjust force before assuming the switch itself is broken. If you're unsure which setting is causing the problem, a technician can diagnose it in minutes.
Key Takeaways
Resetting garage door limit switches requires identifying your opener type, making small incremental adjustments, and always running a safety reversal test before returning the door to normal use.
| Point | Details |
|---|---|
| Identify your opener type first | Mechanical units use screws; digital units use Set, Learn, or arrow buttons. |
| Power cycle before adjusting | Unplugging for 30–60 seconds clears glitches and may eliminate the need for adjustment. |
| Use quarter turn increments | Each quarter turn moves the door roughly 0.5 inches and prevents over-adjustment. |
| Always run the reversal test | Place a 2x4 in the door's path after every adjustment to confirm safe operation. |
| Call a pro for mechanical faults | Broken springs and balance issues cannot be corrected by changing limit settings. |
What I've learned from doing this work every day
The most common mistake I see homeowners make is skipping the power cycle. They go straight to the screws or the programming buttons, spend 30 minutes adjusting, and the door still acts up. Half the time, a simple unplug-and-replug would have fixed it in two minutes. Always try that first.
The second mistake is turning screws too far. A full turn sounds like a small adjustment. On a garage door, 1.5–2 inches of travel change is enough to make the door slam the floor or strain the opener arm. Work in quarter turns. Test every time. It feels slow, but it's the only way to land on the right setting without overshooting.
I also want to be direct about one thing: limit switch adjustment has limits. If your door is heavy on one side, shakes on the way down, or makes grinding noises, that's a spring or track problem. No amount of limit switch troubleshooting will fix a door that's mechanically out of shape. Trying to compensate with tighter limits just burns out the motor faster. Know when the job is beyond a screwdriver.
If you're ever in doubt, call someone who does this daily. A good technician will tell you honestly whether it's a DIY fix or something that needs hands-on repair. That's exactly what we do at Mikes garage doors Loveland.
— Eddie
Need help with your garage door in Loveland, CO?
Sometimes the right call is getting a professional set of eyes on the problem. Mikes garage doors Loveland handles limit switch calibration, opener programming, spring repair, and full garage door services across Northern Colorado. We complete 90% of repairs the same day, and every estimate is upfront with no surprise costs at the end.

Veterans receive a 10% discount on all services. Whether your door reverses too early, won't open all the way, or the motor sounds like it's working twice as hard as it should, we'll walk you through the fix or come out and handle it for you. Call us for a free phone estimate and get your door running right today.
FAQ
What does a limit switch do on a garage door?
A limit switch tells the opener motor where to stop when the door reaches the fully open or fully closed position. Without it, the motor would keep running and damage the door or the opener.
How do I know if my limit switch needs resetting?
The door reverses before fully closing, stops short of fully open, or slams into the floor. These are the three most common signs that the travel limits are set incorrectly.
Can I reset the limit switch without unplugging the opener?
Unplug the opener before touching any mechanical screws. For digital programming, the opener must be powered on, but you should never stand under the door or program from a remote out of sight.
How long does it take to reset garage door limit switches?
Most homeowners complete the adjustment in 20–40 minutes. Digital systems are faster once you locate the programming buttons. Mechanical screw systems take longer because of the test-and-adjust cycle.
When should I call a technician instead of adjusting limits myself?
Call a technician if the door is unbalanced, makes grinding noises, or continues to malfunction after two rounds of adjustments. Mechanical issues like broken springs require professional repair and cannot be corrected by resetting limits.