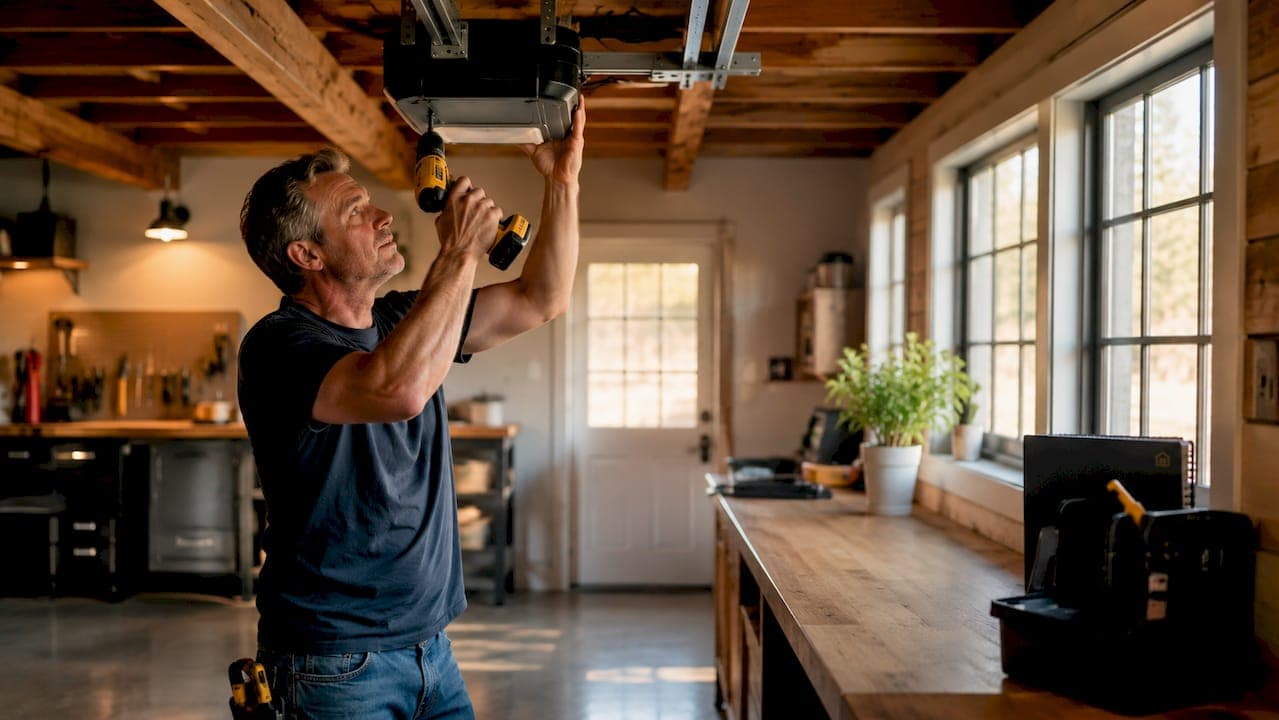
A garage door opener is defined as the motorized system component that automates door movement, integrates safety sensors, and controls force settings to protect people and property. Most homeowners think of it as just a motor. The role of door opener in installation is far more layered than that. Brands like Chamberlain, LiftMaster, and Genie build their openers around a three-part system: mechanical drive, electronic safety sensors, and calibrated force control. Getting all three right during installation is what separates a safe, reliable door from a liability.
What mechanical and safety functions does the door opener perform during installation?
The opener's job during installation goes well beyond mounting a motor to the ceiling. It must integrate two distinct safety systems before the door is considered operational.
UL 325 safety requirements mandate that every residential garage door operator include both mechanical auto-reverse and photoelectric safety sensors. This standard has been in effect since 1993. That means every opener you install today must meet these requirements by design, and your installation must activate them correctly.
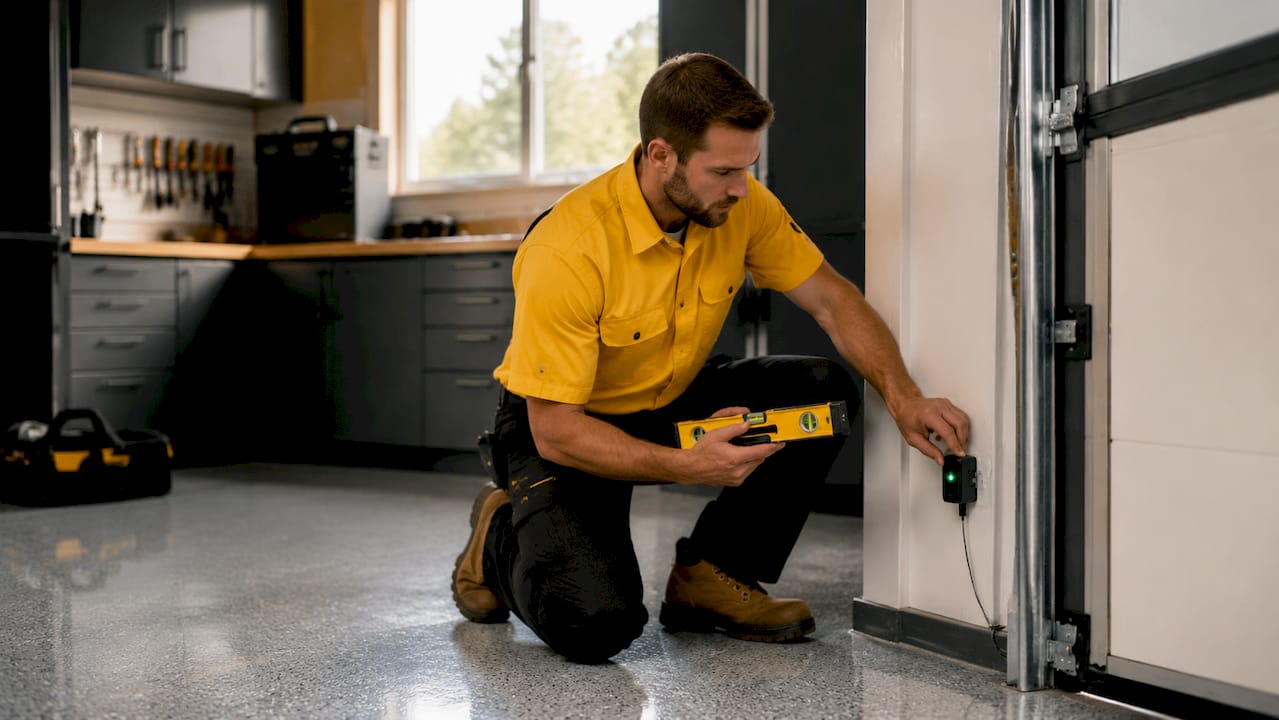
The photoelectric sensors are the most visible part of this. Sensor beam alignment must be set no higher than 6 inches off the floor to provide effective non-contact entrapment protection. That low position catches a child, a pet, or a rolling object before the door makes contact. Chamberlain and LiftMaster manuals are explicit: the door will not close downward if sensors are misaligned. Safety takes priority over convenience, by design.
Force settings are the second layer. The motor must apply enough power to move a heavy door smoothly, but force calibration also triggers the safety reversal when the door hits an obstruction. These two functions share the same setting. That is why cranking up the down force to fix a reversal problem is dangerous. It defeats the safety function entirely.
Here is what proper safety integration looks like during installation:
- Mount photoelectric sensors on both sides of the door frame, no higher than 6 inches from the floor
- Confirm LED indicator lights show proper alignment on both sensor units
- Set down force to the manufacturer's recommended starting point, not the maximum
- Test auto-reverse by placing a 2x4 laid flat on the floor in the door's path
- Confirm the door reverses immediately on contact without hesitation
- Test the photoelectric beam by breaking it with your hand while the door closes
Pro Tip: Never adjust down force upward to fix a door that won't stay closed. That is a symptom of a sensor or mechanical problem. Increasing force masks the root cause and creates a real safety hazard.
How does the opener interact with the door's mechanical condition?
The opener automates a door that already works properly. It cannot fix a door that doesn't. This is the most misunderstood part of the entire installation process.
Doors must be manually checked for balance and smooth operation before the opener is connected. Disconnect the opener, pull the manual release cord, and lift the door by hand. It should rise smoothly and stay in place at the halfway point without drifting up or dropping down. A door that fails this test has a spring tension problem. Connecting an opener to it causes premature motor wear and unsafe operation.
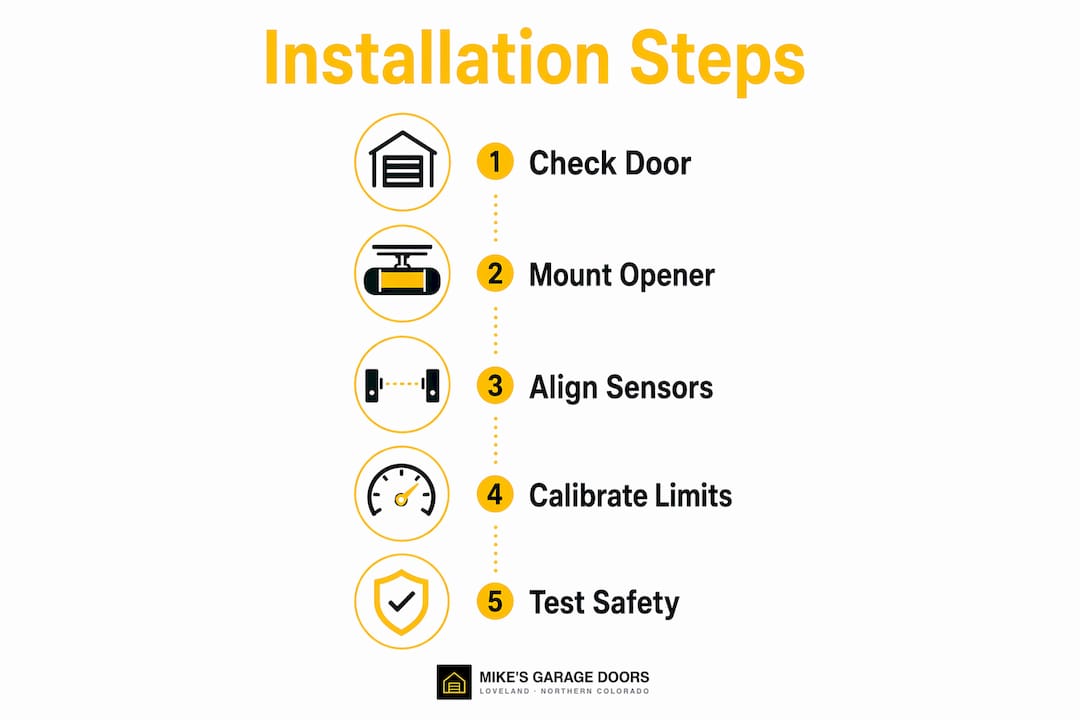
Once the door passes the manual balance test, the opener installation follows a clear sequence:
- Mount the opener unit aligned with the center of the door and secured to structural supports, not just drywall
- Connect the drive mechanism whether that is a chain, belt, screw drive, or direct drive wall mount system
- Install and align safety sensors at the 6-inch height on both sides of the door frame
- Set travel limits to define where the door stops in the fully open and fully closed positions
- Adjust force settings to the manufacturer's baseline, then test door movement in both directions
- Run the auto-reverse obstruction test with a 2x4 laid flat on the floor
- Confirm all LED indicators on sensors show solid lights, not blinking
Travel limit calibration is where many installations go wrong. If the down limit is set too far, the door hits the floor and the motor keeps running, straining the drive system. If it is set too short, the door stops before it seals, letting in cold Colorado air and security gaps. Both are avoidable with careful, step-by-step calibration.
Pro Tip: Check your spring tension adjustment before you ever touch the opener. A balanced door makes every calibration step easier and more accurate.
What are best practices and common mistakes in door opener installation?
Good installation habits prevent the calls we get at Mikes garage doors Loveland about doors that reverse for no reason, won't close, or grind through the motor in six months. Most of those problems trace back to a handful of avoidable mistakes.
- Align the opener to the door center. A unit mounted off-center puts uneven stress on the trolley and the door panels over time.
- Secure the opener to structural supports. Ceiling joists or a properly anchored mounting bracket are required. A loose mount vibrates, loosens hardware, and creates noise.
- Never skip the manual balance test. Connecting an opener to an unbalanced door is like putting new tires on a car with a bent axle. The symptom goes away temporarily, but the damage continues.
- Do not increase down force to fix reversal issues. Increasing down force to override safety reversals is one of the most dangerous mistakes in opener installation. Find the root cause first.
- Test monthly after installation. Manufacturer manuals recommend monthly photo-eye sensor alignment checks and auto-reverse tests to maintain operational safety.
- Keep written records. Document your installation date, force settings, travel limit positions, and every safety test result. This matters more than most homeowners realize, especially if you ever sell the property or file an insurance claim.
Wall mount openers like the LiftMaster 8500W add another layer of consideration. Wall mount units attach directly to the torsion bar and eliminate the center rail entirely. The installation process differs significantly from traditional rail drive systems, and the manual must be followed precisely for safe operation.
How does opener installation differ for homeowners vs. property managers?
The goal is the same: a safe, reliable door. The stakes and the process differ considerably between a single-family home and a commercial or multi-tenant property.
| Factor | Homeowners | Property managers |
|---|---|---|
| Primary focus | Automating a safe manual door | Safety compliance and access control integration |
| Safety testing | Monthly self-test recommended | Scheduled inspections with written documentation |
| Access control | Remote and keypad entry | Card readers, keypads, and building management systems |
| Electrical prep | Standard 120V outlet near opener | Dedicated circuits, conduit runs, and potential low-voltage wiring |
| Liability exposure | Personal safety and property | Legal and insurance liability for tenants and visitors |
| Documentation | Helpful but informal | Required for due diligence and compliance |
Homeowners focus on getting a door that opens reliably, closes safely, and works with their remote and keypad. That is a reasonable scope. Property managers need to plan opener installation as part of a larger operational system, including electrical preparation and access control integration. A commercial door that fails during business hours is not just inconvenient. It is a workflow disruption and a potential liability.
Detailed installation documentation and recurring safety inspections are non-negotiable for property managers. They reduce downtime, demonstrate due diligence, and protect against liability claims. For a homeowner, that same documentation is simply good practice.
Key Takeaways
A properly installed garage door opener does three things: it automates a mechanically sound door, integrates UL 325-compliant safety sensors, and calibrates force settings that balance motor power with safety reversal protection.
| Point | Details |
|---|---|
| Safety sensor integration | Mount photoelectric sensors no higher than 6 inches off the floor and confirm alignment before first use. |
| Manual balance test first | Test the door by hand before connecting the opener to catch spring or mechanical issues early. |
| Force settings are safety settings | Never increase down force to fix reversal problems; find and fix the root mechanical or sensor cause. |
| Monthly testing matters | Run photo-eye and auto-reverse tests monthly per manufacturer recommendations to stay safe. |
| Property managers need documentation | Written installation and inspection records reduce liability and demonstrate compliance for commercial properties. |
What I've learned from watching installations go wrong
I have seen a lot of garage door installations over the years, and the ones that come back as service calls almost always share one thing in common: someone skipped a step because the door "seemed fine."
The manual balance test gets skipped most often. A door that opens and closes by hand feels fine to most people, even when it is slightly out of balance. Connect an opener to that door, and the motor compensates for months until it burns out. By then, the homeowner has no idea the spring was the original problem. They just know the opener stopped working.
The other pattern I see constantly is force adjustment used as a shortcut. A door reverses unexpectedly, so someone bumps up the down force until it stops reversing. The door closes. Problem solved. Except it is not solved. The sensor was slightly misaligned, or the door had a binding hinge. The force increase just overpowered the safety system. That is a child or a pet away from a serious injury.
The types of garage door openers available today, from belt drives to wall mounts, all have different installation requirements. Reading the manual for your specific unit is not optional. A LiftMaster 8500W installs nothing like a Chamberlain chain drive. Treating them the same way is how you end up with a door that works for three months and then fails.
My honest advice: invest the time upfront. Run every test. Write down your settings. If anything feels off during installation, stop and find out why before you close the door and walk away.
— Eddie
Professional opener installation in Loveland, CO
Getting the installation right the first time saves you from repairs, safety risks, and frustration down the road. Mikes garage doors Loveland handles the full process: opener mounting, sensor alignment, force calibration, and safety testing, all done to manufacturer specs and UL 325 standards.

Whether you are installing a new opener in a single-family home or managing a commercial property with multiple doors, our technicians walk through every step correctly. We serve homeowners and property managers across Northern Colorado, with same-day service on most calls and upfront phone estimates so you know the cost before we arrive. Veterans receive a 10% discount. Explore our garage door services in Loveland and get your opener installed the right way.
FAQ
What is the role of a door opener in installation?
The opener automates door movement and integrates mechanical auto-reverse and photoelectric safety sensors during installation. It also requires calibrated travel limits and force settings to operate safely and reliably.
Why won't my garage door close after installation?
A door that won't close after installation almost always has misaligned photoelectric sensors. Chamberlain and LiftMaster openers will not allow downward movement if the sensor beam is broken or the sensors are out of alignment.
Can I install a garage door opener myself?
A mechanically confident homeowner can install a standard opener, but the process requires careful sensor alignment, force calibration, and safety testing. Skipping any step creates real safety risks, and professional installation ensures every requirement is met correctly.
How often should I test my garage door opener's safety features?
Manufacturer manuals recommend monthly testing of the photo-eye sensors and auto-reverse function. Place a 2x4 flat on the floor in the door's path and confirm the door reverses immediately on contact.
Do wall mount openers install the same way as rail drive openers?
Wall mount openers like the LiftMaster 8500W attach directly to the torsion bar and have no center rail. The installation process, mounting points, and wiring differ significantly from traditional chain or belt drive systems, so the specific manual must be followed.