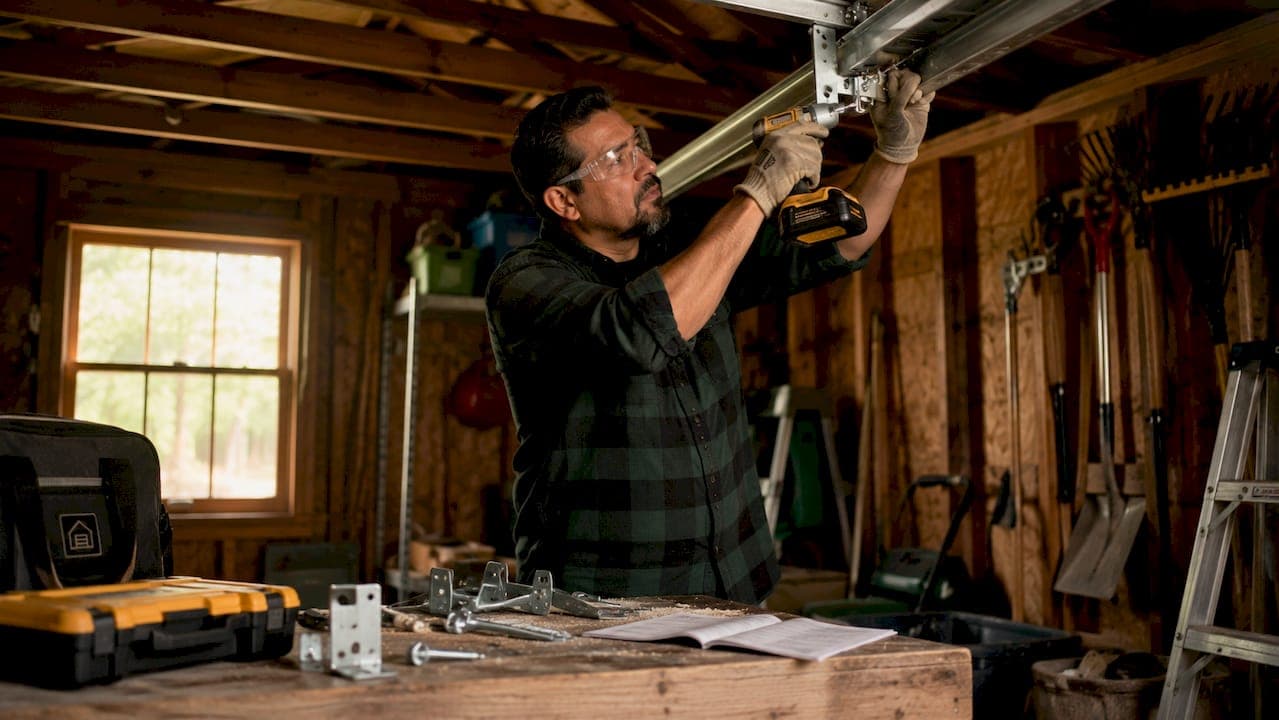
Garage door brackets are the critical metal anchoring hardware that hold your door's tracks, panels, and spring system together for safe, reliable operation. Without them, a 100 to 350+ pound door has nothing to keep it on track or absorb the forces generated by the spring system. The role of garage door brackets goes far beyond simple fasteners. They transfer weight, manage spring tension, and keep every moving part aligned. The Door and Access Systems Manufacturers Association (DASMA) recognizes bottom brackets as high-risk components that only trained technicians should handle. Understanding what each bracket does gives you the knowledge to spot problems early and make smart repair decisions.
What are the different types of garage door brackets?
Garage door systems use several distinct bracket types, and each one has a specific job. Mixing them up or skipping one during a repair creates real safety problems.
Top brackets sit at the upper corners of the door and anchor the torsion spring cable drums. Torsion springs handle doors weighing 154 to 440 lbs, and all of that counterbalancing force runs through the top bracket. An undersized or damaged top bracket is a serious safety hazard. It holds back enormous stored energy every time the door moves.
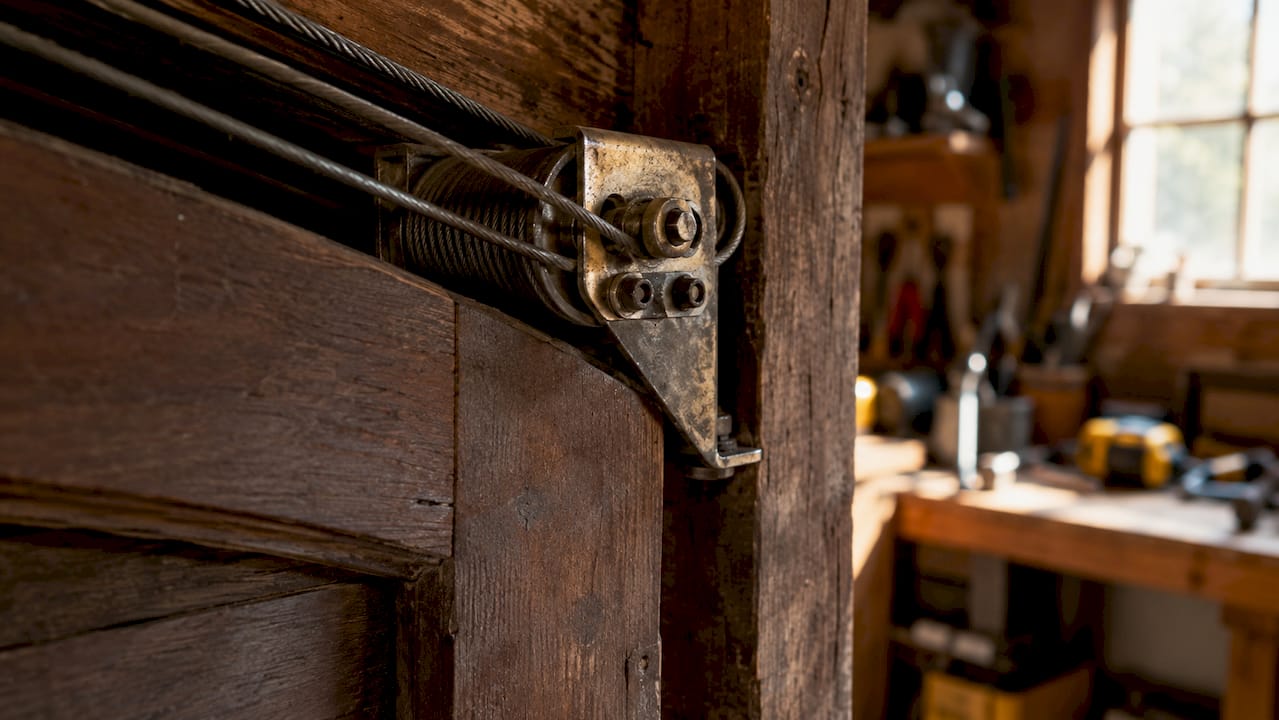
Bottom brackets attach to the lower corners of each door panel and connect directly to the lift cables. These cables run up to the spring drum and carry the door's full weight during operation. Bottom brackets connect to the spring system and are among the most dangerous components on the door. DASMA recommends only trained technicians adjust or repair them due to severe injury risk from stored tension.
Track brackets come in two forms: flag brackets and hanging brackets. Flag brackets mount the vertical track sections to the wall at the sides of the door opening. Hanging brackets suspend the horizontal track sections from the ceiling, keeping them level and properly angled. Both types maintain the track geometry that guides the rollers smoothly through every cycle.
Reinforcement brackets and opener mounting brackets serve the opener system. Reinforcement brackets distribute the opener arm's force over a wider area of the door panel, preventing tears and jerky motion. Without one, the opener arm concentrates all its pulling force on a single small point, which eventually rips through the panel.
| Bracket type | Primary role | Safety note |
|---|---|---|
| Top bracket | Anchors torsion spring cable drums | Professional-only; holds extreme spring energy |
| Bottom bracket | Connects lift cables to door panels | Professional-only; DASMA high-risk component |
| Flag bracket | Mounts vertical track to wall | DIY-safe with proper tools |
| Hanging bracket | Suspends horizontal track from ceiling | DIY-safe with proper tools |
| Reinforcement bracket | Distributes opener arm force across panel | DIY-safe; prevents panel tears |
| Opener mounting bracket | Connects opener arm to door | DIY-safe in most cases |
Pro Tip: Never assume a bracket is DIY-safe just because it looks simple. If it connects to a cable or spring, treat it as professional-only hardware.
How do garage door brackets work together for smooth operation?
Every bracket in the system plays a role in a chain of force transfer. When one link in that chain weakens, the whole door suffers.
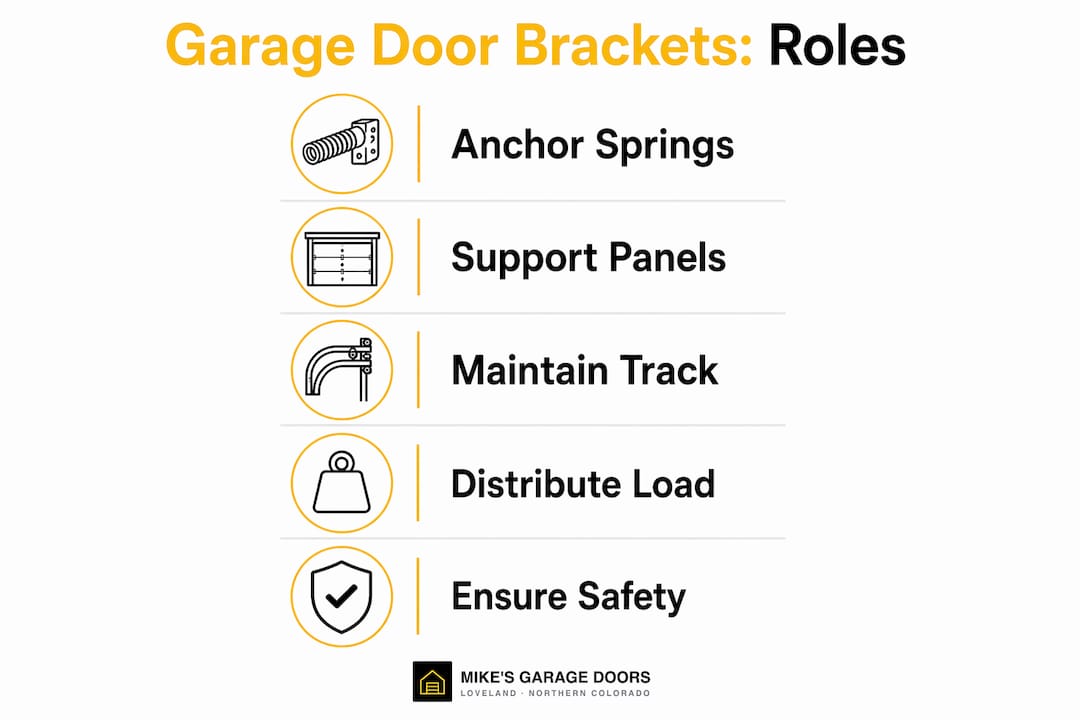
Residential garage doors weigh between 100 and 350+ pounds, and that weight loads through the brackets during every open and close cycle. The spring system counterbalances most of that weight, but the brackets are what connect the spring energy to the door panels and tracks. Think of them as the joints in a skeleton. The muscles (springs) do the work, but the joints (brackets) transfer the force where it needs to go.
Here is the sequence of force transfer during a typical door opening cycle:
- The opener motor activates and pulls the opener arm upward.
- The reinforcement bracket spreads that pulling force across the top panel section.
- The top bracket transfers torsion spring energy to the cable drums, unwinding the cables.
- The bottom brackets receive the cable tension and lift the door panels upward.
- The track brackets hold the vertical and horizontal tracks in alignment so the rollers guide the panels smoothly through the curve.
- The door reaches the open position and rests horizontally on the horizontal track sections, supported by the hanging brackets.
Track alignment is where bracket condition shows up most clearly in day-to-day operation. Even a slightly bent flag bracket shifts the vertical track out of plumb. That misalignment forces the rollers to fight the track on every cycle, wearing both components faster than normal. A door that grinds, squeaks, or hesitates mid-travel often has a track bracket issue, not a spring or opener problem.
Pro Tip: Watch the gap between the door panels and the track as the door moves. An uneven gap that widens or narrows mid-travel points to a bent or loose track bracket, not a worn roller.
What are the common causes and signs of garage door bracket failure?
Bracket failure rarely happens in isolation. The most common cause is an imbalanced door, not a defective bracket.
An imbalanced door forces brackets to bear disproportionate stress, causing bending or failure over time. When the spring tension is off, one side of the door carries more load than the other. The bracket on the heavy side takes repeated overloads until it bends, cracks, or pulls free from the panel. Replacing that bracket without fixing the balance just repeats the cycle.
Other common causes include:
- Poor installation. Brackets mounted with undersized bolts or into weak framing pull loose under normal operating loads.
- Worn or mismatched components. Using a bracket rated for a lighter door on a heavier one accelerates failure.
- Corrosion. Brackets in humid or coastal environments rust through faster than the door itself wears out.
- Impact damage. Backing a vehicle into the door transfers shock directly to the bottom brackets and lower track brackets.
The warning signs of bracket trouble are usually visible before the door fails completely:
- Visible bending, cracking, or rust on the bracket body
- Door that struggles to open or close, especially on one side
- Track that has shifted away from the wall or ceiling
- Cables that look slack or sit off-center on the drum
- Loud popping or grinding sounds during operation
Pro Tip: Run a quick visual check on your brackets every time you lubricate the rollers and hinges. Catching a bent bracket early costs you a hardware part. Missing it can cost you a full track replacement or a panel.
Replacing one damaged bracket without addressing underlying panel damage leads to repeat failure. If the panel behind the bracket is cracked or bent, the new bracket has nothing solid to grip. A reinforcement strut across the top section of the door is often the right fix, not just a new bracket. You can learn more about keeping all these components in shape with the 7-point tune-up checklist from Mikes garage doors Loveland.
How to safely install or replace garage door brackets
Safe bracket replacement starts with knowing which brackets you can handle yourself and which ones require a professional.
DIY-safe tasks include weatherstripping, rollers, and flag or hanging brackets. Professional-only tasks include bottom brackets, cables, and springs. That line exists because of stored spring tension. A torsion spring holds enough energy to cause severe injury if it releases unexpectedly. Bottom brackets connect directly to that system. No amount of YouTube research changes the physics involved.
For brackets that are safe to replace yourself, follow this process:
- Disconnect the opener and lock the door in the closed position using locking pliers on the track below a roller.
- Identify the damaged bracket and gather the correct replacement part. Match the gauge and bolt pattern exactly.
- Replace brackets one at a time. Replacing brackets individually keeps the remaining brackets supporting the door and prevents panel drops or track binding.
- Remove the old bracket bolts and slide the bracket free. Keep the roller in the track while you work.
- Position the new bracket, align it with the existing bolt holes, and torque the bolts to the manufacturer's specification.
- Repeat for any additional brackets before removing the locking pliers and testing the door manually.
Improper installation creates problems that show up weeks later, not immediately. A bracket that is slightly out of alignment lets the door operate but accelerates roller and track wear. For a full picture of which tasks fall on the DIY side of the line, the DIY garage door service guide from Mikes garage doors Loveland walks through each component clearly.
Pro Tip: Always replace brackets in matched pairs when possible. If the bracket on the left side is worn, the one on the right has been under the same stress. Replacing both prevents a second failure call within months.
Key takeaways
Garage door brackets are the structural connectors that transfer spring energy, support door weight, and maintain track alignment through every operating cycle.
| Point | Details |
|---|---|
| Brackets transfer real weight | Residential doors weigh 100–350+ lbs; brackets carry that load on every cycle. |
| Bottom brackets are professional-only | DASMA flags them as high-risk; stored spring tension makes DIY repair dangerous. |
| Imbalance causes most failures | Fix the door balance first, or a new bracket will fail under the same uneven stress. |
| Replace brackets one at a time | Swapping them individually keeps the door supported and prevents panel drops. |
| Reinforcement brackets protect panels | They spread opener arm force across the panel surface, preventing tears and jerky motion. |
What I've learned after years of bracket calls
After years of working on garage doors across Northern Colorado, the pattern I see most often is this: homeowners replace a bracket, the door works for a few months, and then the same bracket fails again. Every time, the root cause was something else. A bent top section. A spring that was slightly under-tensioned. A panel that had taken a hit and was no longer flat.
Brackets are honest hardware. They do not fail randomly. When one bends or pulls free, it is telling you something about the system around it. A torn-out operator bracket almost always signals panel damage or a bent top section that needs a reinforcement strut, not just a new bracket. Treating the symptom without reading that signal is how a $30 repair turns into a $300 one.
The other thing I want homeowners to understand is that the line between DIY and professional work on a garage door is not about skill level. It is about physics. A torsion spring stores energy like a compressed gun spring. Bottom brackets and cables connect directly to that stored energy. I have seen experienced DIYers get hurt because they underestimated how fast that energy releases. The spring tension adjustment guide explains the forces involved in plain language if you want to understand what you are working near.
My honest advice: inspect your brackets twice a year, lubricate everything that moves, and call a professional the moment you see a cable or bottom bracket issue. That one call is always cheaper than the alternative.
— Eddie
Garage door bracket repair in Loveland, CO
When a bracket issue points to a bigger system problem, you need a technician who will diagnose the whole door, not just swap the part.

Mikes garage doors Loveland handles garage door repairs in Loveland including bracket replacement, spring repair, opener service, and full system tune-ups. The team completes 90% of repairs on the same day, and you get a transparent estimate over the phone before anyone shows up at your door. Veterans receive a 10% discount. If your door is grinding, struggling, or showing bent hardware, call Mikes garage doors Loveland for a same-day assessment and get it fixed right the first time.
FAQ
What is the role of garage door brackets?
Garage door brackets anchor the tracks, panels, and spring system together, transferring the door's full weight and spring energy through every open and close cycle. Without them, the door cannot stay aligned or operate safely.
Which garage door brackets are safe for DIY replacement?
Flag brackets, hanging track brackets, and opener reinforcement brackets are generally DIY-safe. Bottom brackets and top spring anchor brackets connect to the spring system and require a professional due to extreme stored tension.
How do I know if a garage door bracket is failing?
Look for visible bending or cracking on the bracket body, a door that struggles or grinds on one side, cables sitting off-center, or a track that has shifted away from the wall. Any of these signs warrants a professional inspection.
Why does my garage door bracket keep breaking?
Repeat bracket failure almost always points to an imbalanced door or underlying panel damage. Replacing the bracket without fixing the balance or reinforcing a damaged panel puts the same overload on the new hardware.
Can I replace just one garage door bracket?
You can replace a single bracket, but replace brackets one at a time to keep the door supported during the repair. If the opposite bracket shows similar wear, replace both to avoid a second failure within months.