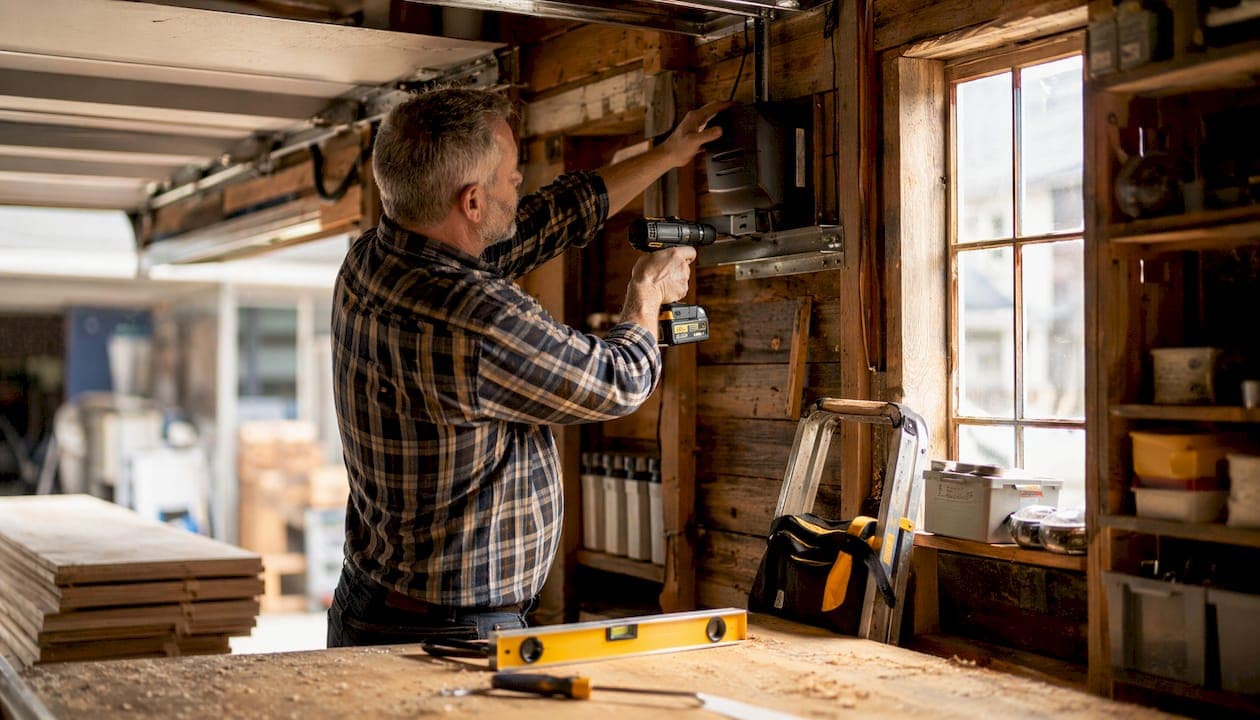
Side mounted garage door opener installation is the process of mounting a motorized drive unit on the wall beside your garage door, directly connecting it to the torsion shaft to lift and lower the door without any overhead rail. The industry term for this setup is a jackshaft opener, and it solves a problem that ceiling-mounted systems never could: wasted overhead space. If you have a high-lift door, a low ceiling, or you just want a quieter, cleaner garage, this guide walks you through every phase of the job, from measuring clearances to programming your remote.
What tools and site prep does side mounted garage door opener installation require?
Getting the site right before you touch a single bolt separates a clean install from a costly redo. Two measurements are non-negotiable. First, you need at least 8.5 inches of side clearance from the torsion shaft end to the nearest wall or obstruction. Second, you need a minimum 3-inch axial clearance from the bearing plate edge to any framing or hardware. There is no workaround if either measurement falls short. Grinding the shaft or notching framing creates failure points that will cost you far more than a professional conversion.
Tools you need
- Socket wrench set and torque wrench (critical for set screw specs)
- Power drill with masonry and wood bits
- 4-foot level
- Stud finder
- Tape measure and pencil
- Safety glasses and work gloves
- Sturdy 6-foot ladder
Materials in a typical jackshaft kit and extras
- Motor unit and mounting bracket
- Drive coupler and collar hardware
- Door arm and clevis pins
- Wall-button wire and sensor brackets
- Lag screws (verify length against your framing depth)
- Photo-eye sensors and mounting hardware
Your garage also needs a dedicated 120V outlet within 6 feet of the opener location, protected by a GFCI breaker. Extension cords are not an acceptable substitute. Confirm your door uses a torsion spring system. If it runs on extension springs, those must be converted to torsion before you proceed, which adds $200–$400 to your project cost.
Pro Tip: Use your stud finder twice on every mark. Run it horizontally, then vertically. A single pass misses edge studs, and a bracket mounted into drywall alone will pull free under load.
How do you install a side mount garage opener step by step?
A complete jackshaft opener setup takes approximately 4–5 hours when you work methodically. Rushing any phase creates alignment problems that show up weeks later as noise, slipping, or sensor faults.
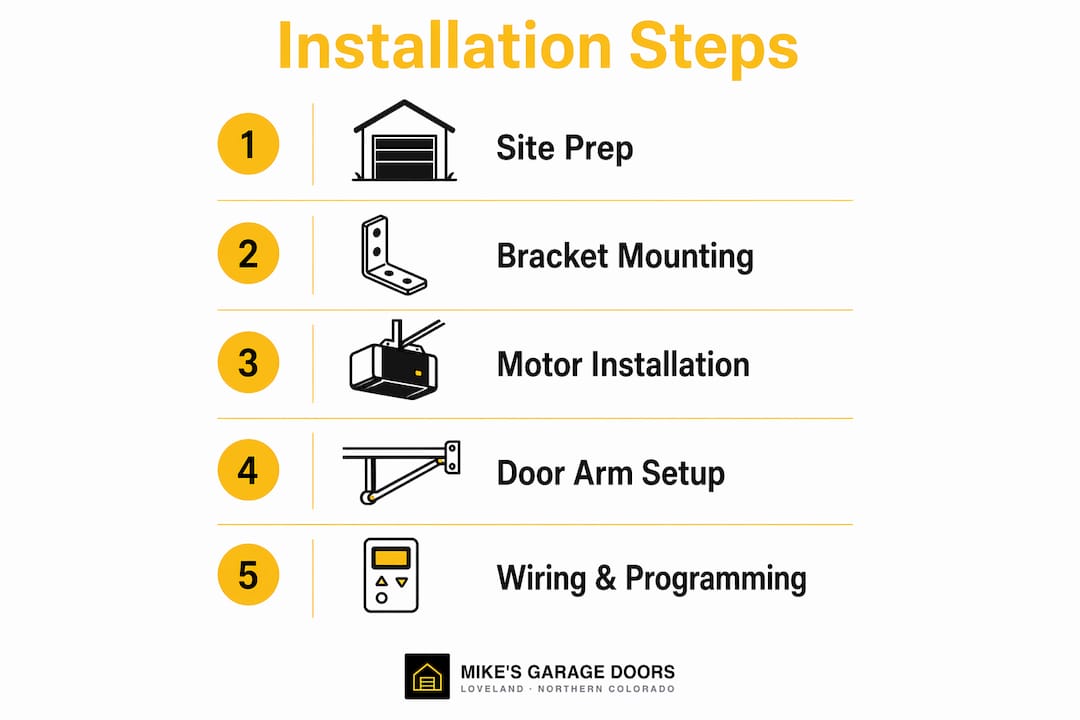
Phase breakdown with time estimates
| Phase | Task | Estimated Time |
|---|---|---|
| 1. Site prep | Measure clearances, locate studs, confirm spring type | 1–2 hours |
| 2. Bracket mounting | Install wall bracket and header support with lag screws | 30–45 minutes |
| 3. Motor installation | Mount unit, align coupler, torque set screws | 45–60 minutes |
| 4. Door arm and sensors | Attach door arm, run sensor wires, set sensor height | 30 minutes |
| 5. Wiring and programming | Connect power, program remotes, run safety tests | 45 minutes |
Phase 1: Site preparation. Disconnect your existing opener and manually operate the door. It should move smoothly with one hand and hold position at mid-travel. A door that fights you or drops is unbalanced. Fix the balance issue before installing the new unit. An unbalanced door causes cable slack and mechanical failures that no opener can compensate for.
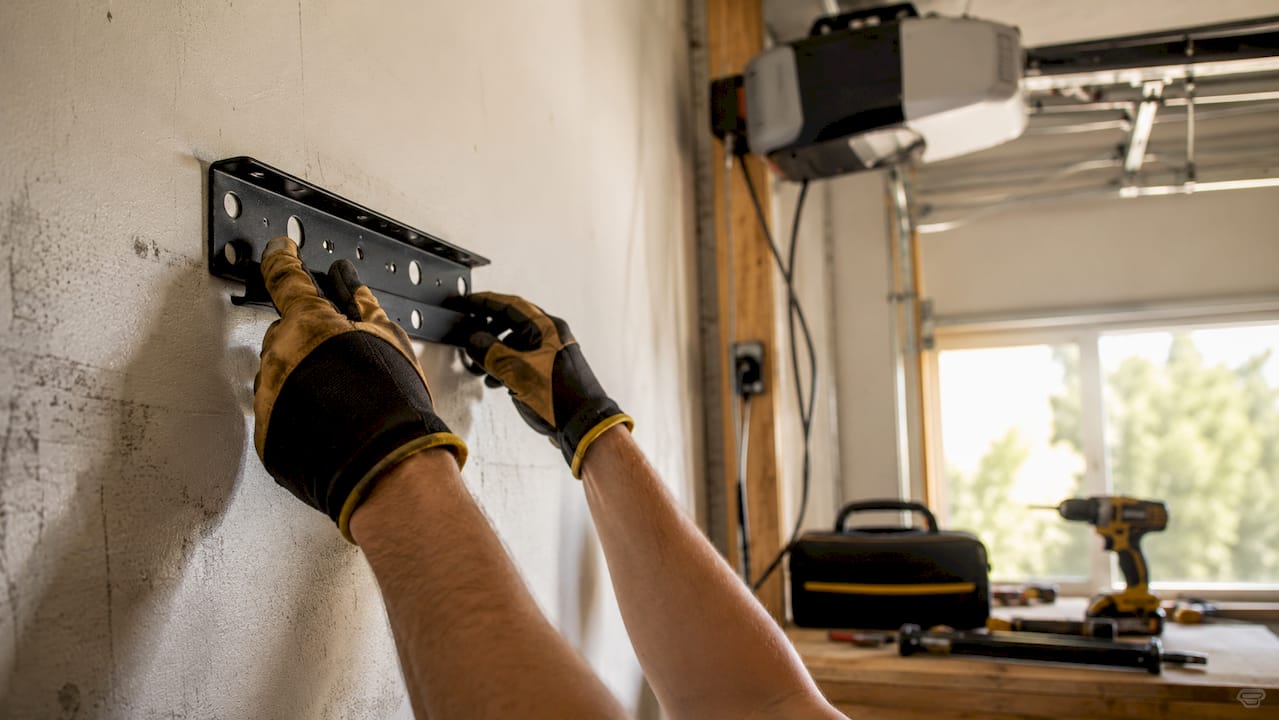
Phase 2: Bracket mounting. Hold the mounting bracket against the wall beside the torsion tube and mark your lag screw locations. Every lag screw must hit a stud or solid blocking. Torque each screw to the manufacturer's specification. Under-torqued brackets shift under repeated door cycles and misalign the coupler over time. Review garage door bracket basics if you are unsure about bracket placement or load ratings.
Phase 3: Motor and coupler installation. Slide the coupler collar onto the torsion shaft and seat it fully. The 3-inch axial clearance standard exists precisely so the collar seats without binding. If your shaft has a keyway, use a Woodruff key rather than a round coupler. Round couplers on keyed shafts cause keyway shear under load. Torque the set screws to spec and check that the motor body sits plumb with a level.
Phase 4: Door arm and sensors. Attach the door arm to the top bracket on the door panel, then connect it to the motor's drive mechanism. Mount photo-eye sensors on each side of the door opening, no higher than 6 inches from the floor. Run sensor wires along the door frame and secure them with staples every 12 inches. Loose sensor wires get pinched by the door and cause intermittent faults.
Phase 5: Wiring and programming. Plug the unit into your GFCI-protected outlet. Program your remote and wall button per the manufacturer's instructions. Run five full open-and-close cycles and watch the door travel from start to finish each time. Listen for grinding, watch for cable sag, and confirm the sensors stop the door when you break the beam.
Pro Tip: After programming, test the auto-reverse by placing a 2x4 flat on the floor in the door's path. The door must reverse on contact. If it does not, adjust the force setting before using the opener.
What are the most common installation problems and safety risks?
Mechanical failures in jackshaft openers almost always trace back to three root causes: coupler slip, keyway shear, and slack induction. Coupler slip happens when the collar is not fully seated or the set screws are under-torqued. Keyway shear occurs when a round coupler is used on a keyed shaft. Slack induction happens when the door is unbalanced and the cable loses tension mid-travel, causing derailment.
Safety issues that require a professional
- Torsion spring adjustment or replacement
- Cable replacement or re-winding
- Any hardware showing cracks, corrosion, or deformation
- Electrical work beyond plugging into an existing outlet
Torsion springs and cables store enormous mechanical energy. A spring under full tension can release with enough force to cause serious injury or death. Do not attempt to adjust or replace torsion springs yourself. Assign that work to a licensed technician every time.
The UL 325 safety standard requires that photo-eye sensors continuously monitor the door's path. The opener's firmware disables downward commands the instant the sensor beam breaks. Never bypass or cover sensors, even temporarily. California's Senate Bill 969 adds a battery backup requirement for new opener installations in that state, so check your local code before you finalize the setup.
Pro Tip: Lubricate the torsion spring, rollers, and hinges every six months with a garage door specific lubricant. Dry hardware puts extra load on the opener motor and shortens its life. Learn more about routine door servicing to keep your system running cleanly.
For anything involving spring tension, read up on spring replacement urgency before deciding whether to call a pro.
Is a side mount opener worth the cost compared to a ceiling-mounted unit?
Jackshaft openers cost more upfront than traditional ceiling-mounted models. Wall-mount units typically start above $699, while entry-level ceiling-mounted openers can be found for less. That price gap narrows quickly when you factor in what you get: no overhead rails, more usable ceiling space, quieter operation, and compatibility with high-lift and vertical-lift doors that ceiling units simply cannot handle.
Where the real costs hide
- Extension spring to torsion spring conversion: $200–$400 if your door does not already use a torsion system
- Torque wrench rental or purchase if you do not own one: $30–$60
- GFCI outlet installation by an electrician if one is not already present: $100–$200
- Replacement lag screws or blocking lumber if your framing is inadequate
DIY installation saves you labor costs but requires honest self-assessment. If your door is out of balance, your framing is weak, or your spring system needs conversion, the project complexity jumps significantly. Professional installation through a service like 911 Garage Door Repair Pros covers all phases under one quote and includes code compliance verification. Get at least two written estimates, ask specifically what is included, and confirm whether the spring system is compatible before anyone starts work.
Key Takeaways
Successful jackshaft opener installation depends on meeting exact clearance standards, using the correct coupler type, and never attempting torsion spring work without a licensed technician.
| Point | Details |
|---|---|
| Clearance is non-negotiable | Confirm 8.5-inch side clearance and 3-inch axial clearance before purchasing any hardware. |
| Spring type determines feasibility | Extension spring systems must be converted to torsion springs before a jackshaft opener can be installed. |
| Coupler choice prevents failure | Use a Woodruff key coupler on keyed shafts to prevent keyway shear under load. |
| UL 325 sensors are mandatory | Photo-eye sensors must remain active and unobstructed at all times per UL 325 requirements. |
| Torsion springs require a pro | Never adjust or replace torsion springs yourself. The stored energy is life-threatening if mishandled. |
What I have learned from watching homeowners tackle this job
The installs that go wrong almost always share one thing: the homeowner skipped the balance test. They assume the door works fine because it opened and closed before. But "fine" and "balanced" are not the same thing. A door that sags 3 inches when you release it at mid-travel is putting constant strain on the opener from day one. The jackshaft motor is not built to compensate for a poorly tuned door. It is built to move a door that is already doing most of the work on its own.
The other pattern I see is underestimating the coupler step. People torque the set screws by feel instead of using a torque wrench, and six months later they are wondering why the door stutters on the way up. A $40 torque wrench rental prevents a $300 service call.
That said, this is genuinely one of the more satisfying DIY projects a homeowner can complete. The types of garage door openers available today give you real options, and a jackshaft unit transforms how a garage feels. You get your ceiling back. The door runs quieter. And you know exactly how it was installed because you did it yourself.
Know your limits, though. The moment the job touches a torsion spring or a frayed cable, put the tools down and call someone. That is not a failure. That is good judgment.
— Eddie
Mikes garage doors Loveland: professional installation and support
Not every garage is a clean candidate for a DIY jackshaft install. Low clearances, aging hardware, or a spring system that needs conversion can turn a weekend project into a safety risk.

Mikes garage doors Loveland handles the full range of garage door services in Loveland, CO, including jackshaft opener installation, spring conversions, and post-install safety inspections. The team completes 90% of jobs the same day, provides upfront phone estimates with no surprise charges, and backs every repair with a solid warranty. Veterans receive a 10% discount on all services. If you hit a wall during your install or want a professional to handle the whole job, call Mikes garage doors Loveland for a straight answer and a fair price.
FAQ
What is a side mounted garage door opener?
A side mounted garage door opener, also called a jackshaft opener, mounts on the wall beside the door and drives the torsion shaft directly, eliminating the need for an overhead rail system.
How long does side mount opener installation take?
A complete installation takes approximately 4–5 hours, broken into site prep, bracket mounting, motor installation, door arm integration, and wiring with programming.
Do I need a special outlet for a jackshaft opener?
Yes. The opener requires a dedicated 120V outlet with GFCI protection, located within 6 feet of the unit. Extension cords are not a safe or code-compliant substitute.
Can I install a jackshaft opener if my door has extension springs?
No. Extension spring systems are not compatible with side mount openers. You must convert to a torsion spring system first, which typically costs $200–$400.
When should I call a professional instead of doing it myself?
Call a professional any time the job involves torsion spring adjustment, cable work, or framing modifications. These components store dangerous levels of tension and require a licensed technician.